6kA Supercapacitor Spot Welder

Introduction
Circuit Files are located here: https://workspace.circuitmaker.com/Projects/Details/AndreKeys-2/MosFET-Spot-Welder-6kA
NOTE: Circuitmaker is very limited when sharing files, I much prefer KiCad for circuit designs.
Since seeing Dan Gelbart’s workshop series on youtube (highly recommended) I have been interested in possessing a spot welder.
Spot welders join thin sheet metal plates using the effect of Joule Heating. Joule Heating relies on the resistive properties of materials and the effect that passing current through them causes. Enough current creates enough heat to melt steel.
Basically, the variables that effect the spot welding process are current, voltage, inductance, and resistance of the welder and of the workpieces.
Lots of people make these welders using hacked microwave over transformers. This practice does indeed create a spot welding machine, and with sufficient controls on the input side of the transformer, adequate welds can be formed.
The primary consideration for the success of a weld is the current flowing through a part. A low current can input the same energy as a high current but in a longer period of time. Therefore, there are much higher losses due to heat dissipation in a long weld than a short weld. Additionally, heat gained in a part is due to Joule heating, which is the square of the current multiplied by the time. Therefore, higher current results in significantly higher energy for the same amount of time.
Motivation
Which brings me to my motivation. Many MOT (Microwave Oven Transformer) Spot Welders require passing high current through 15A 120V breakers (this is possible for short time periods), or do not provide enough current when run with 120V North American household circuits.
Additionally, it seems that the MOT method lends itself to hobbyists that want a quick experiment, not an industrial product.
In my own shop (my garage), I only possess a North American 120V 15A circuit. I have also been attracted to using Super Capacitors for supplying high current for this purpose. This has been something that was discussed several years ago by the Applied Science youtube channel (highly recommended), but never materialized from what I observed.
So, I embarked on the process of designing a building a Supercapacitor based Spot Welding Power Supply.
Supercapacitor?
Wikipedia defines a Supercapacitor as “a supercapacitor (SC), also called an ultracapacitor, is a high-capacity capacitor, with a capacitance value much higher than other capacitors but with lower voltage limits” wikipedia-supercapacitor
The final design in this project uses a capacitor bank of 9,000 Farads charged to 2.7V. That’s 9 Billion times more capacitance than a 1uF cap!
Design
At a high level, the project consists of four components:
- The charging circuit
- The switching circuit
- The timing circuit
- The welding circuit
The Charging Circuit
Charging 9kF of capacitance in a reasonable timeframe is not a trivial task.
An ideal solution for this is a buck converter powers by a well-designed high current power supply. commercial server computer power supplies are ideal for this purpose. Luckily, I found a solution actually designed for this application. For this project, I use the kWeld Supercapacitor welding buck converter found here: https://www.keenlab.de/index.php/product/ksupply/
This module reliably charges the capacitor bank at a peak 40A until full charge.
The critical factor is that the kSupply fits on readily available HP Server Power Supplies.
The Switching Circuit
The Switching circuit is no doubt the most challenging aspect of a supercapacitor spot welder. In a traditional spot welder using a transformer, the switching can take place on the input side of the transformer. That has two advantages, the first is that the current being switched can be many times lower than on the output side (25-50 Amps vs. thousands of amperes). Secondly, there are many electronic components that are available for this purpose. A Silicon Controlled Rectifier, for instance, is a perfect fit, and will close the switch when the AC signal crosses the 0 point. Often times, timing circuits take advantage of this, which is often why commercial spot welders specify the time of the weld in “cycles,” that refers to AC cycles across the input of the transformer.
In a supercapacitor based welder, the switching circuit must be able switch kiloamperes of current. It is true that there are large SCRs capable of this, but those cannot be used because the capacitors provide a DC current, and require the capacitor bank to empty before the switch would close.
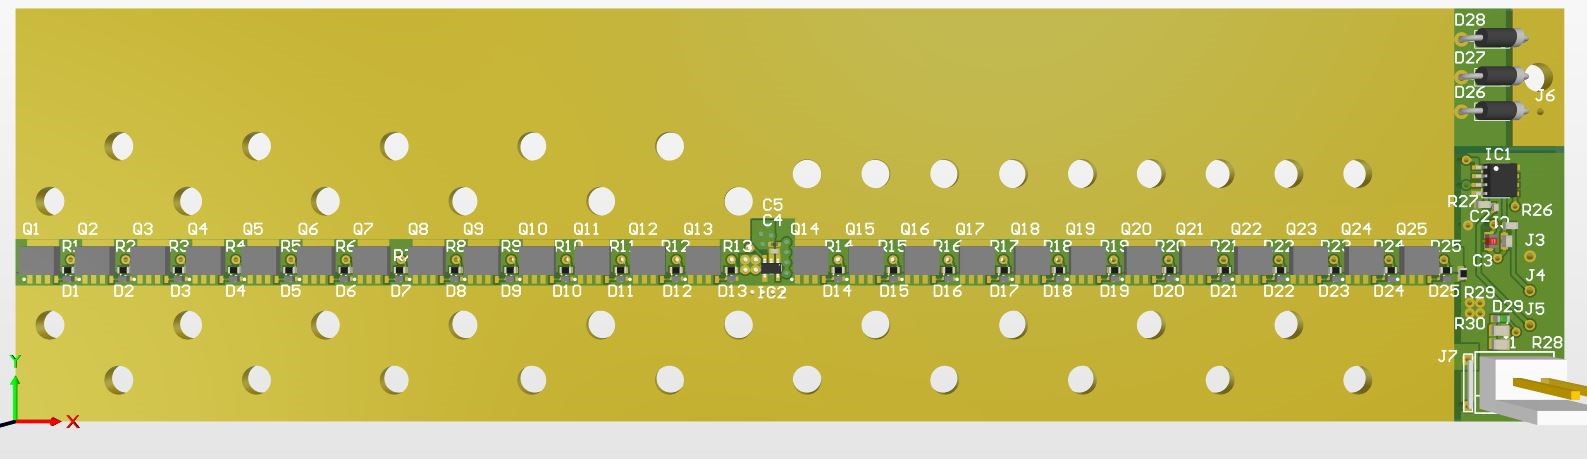
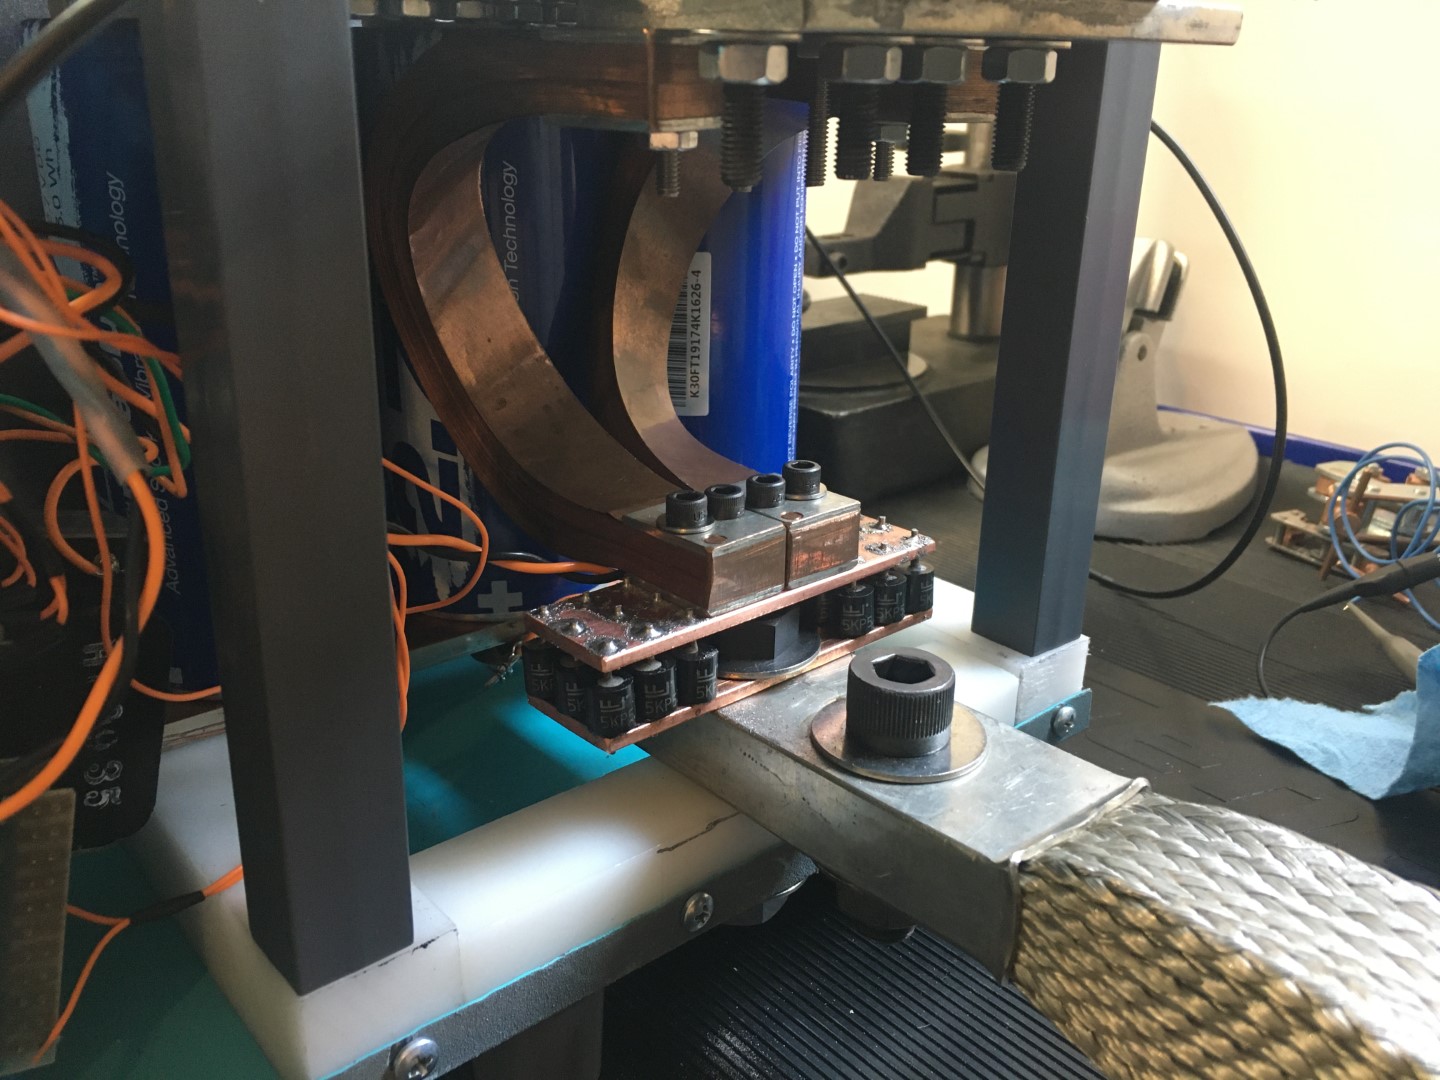
This design uses a parallel configuration of 25 power mosfets, each capable of pulsing 300A. Its actually incredible what modern electronics are capable of. After a lot of prototyping, I chose the PSMN1R0-30YLDX FET for this. Importantly, this mosfet is stocked in JLCPCBs library, and cost about $1 each.
As you might be able to tell, I can then simply order PCBs for the welder from JLCPCB fully assembled for about $30 each. Again, its amazing that a solid state switch capable of conducting more than 6kA can be had for that price.
The Timing Circuit
For the timing circuit, I chose to implement an analog monostable multivibrator using a 555 timer and a decade switch. Not only is this reliable, its extremely inexpensive and can also be assembled on the same board from JLCPCB.
The Welding Circuit
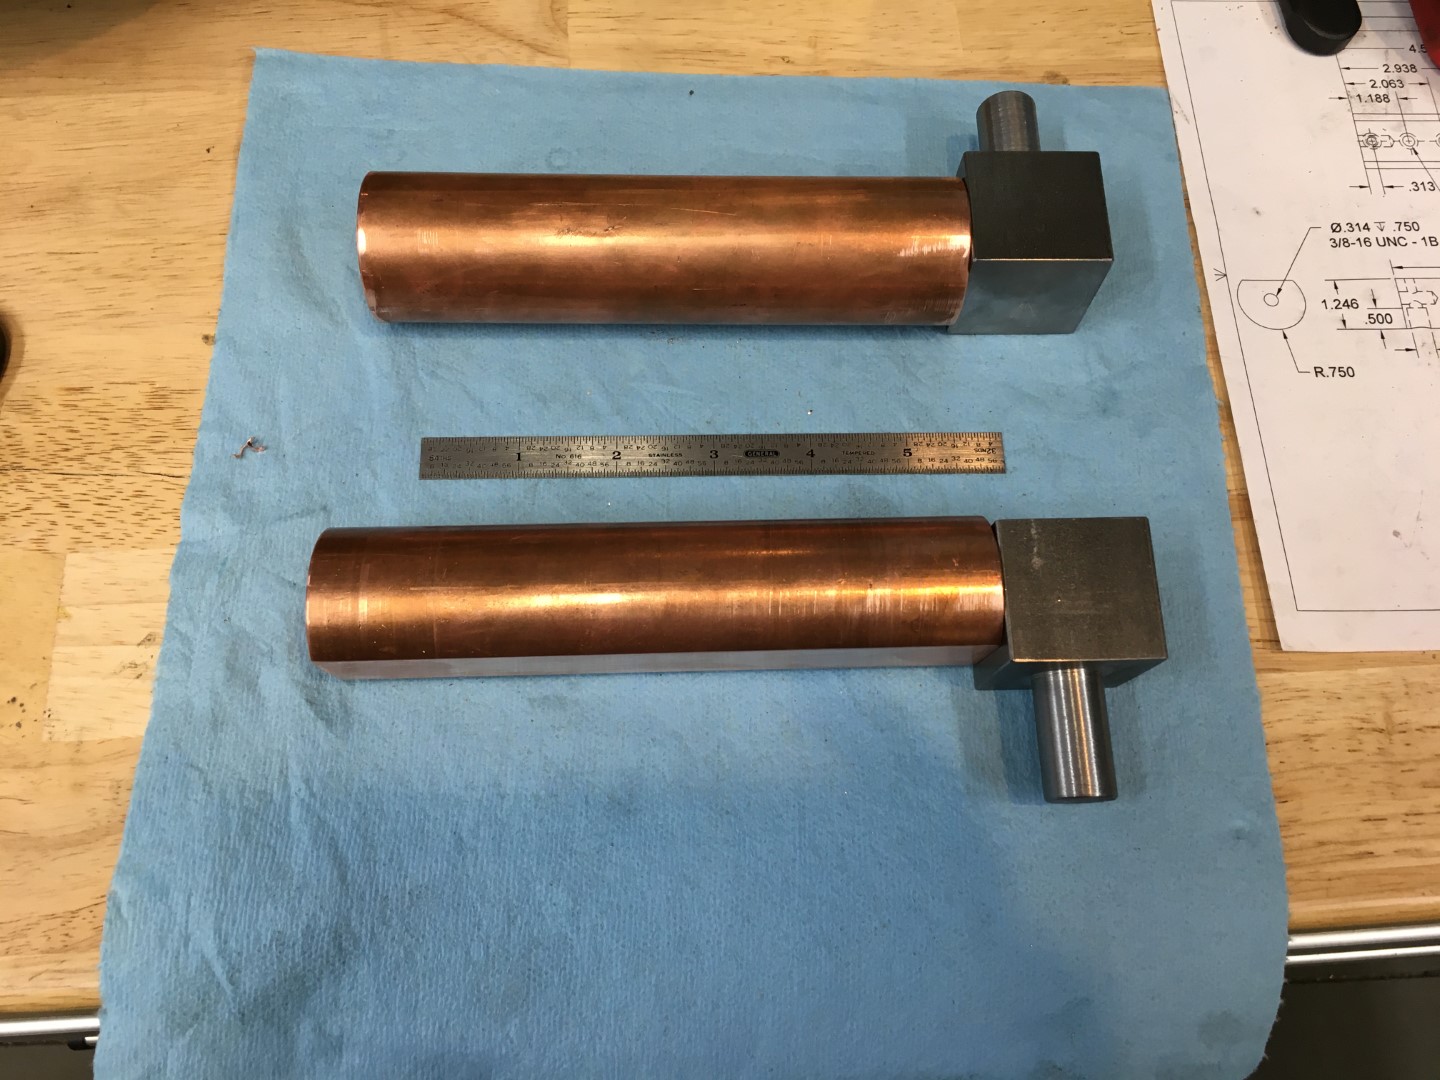
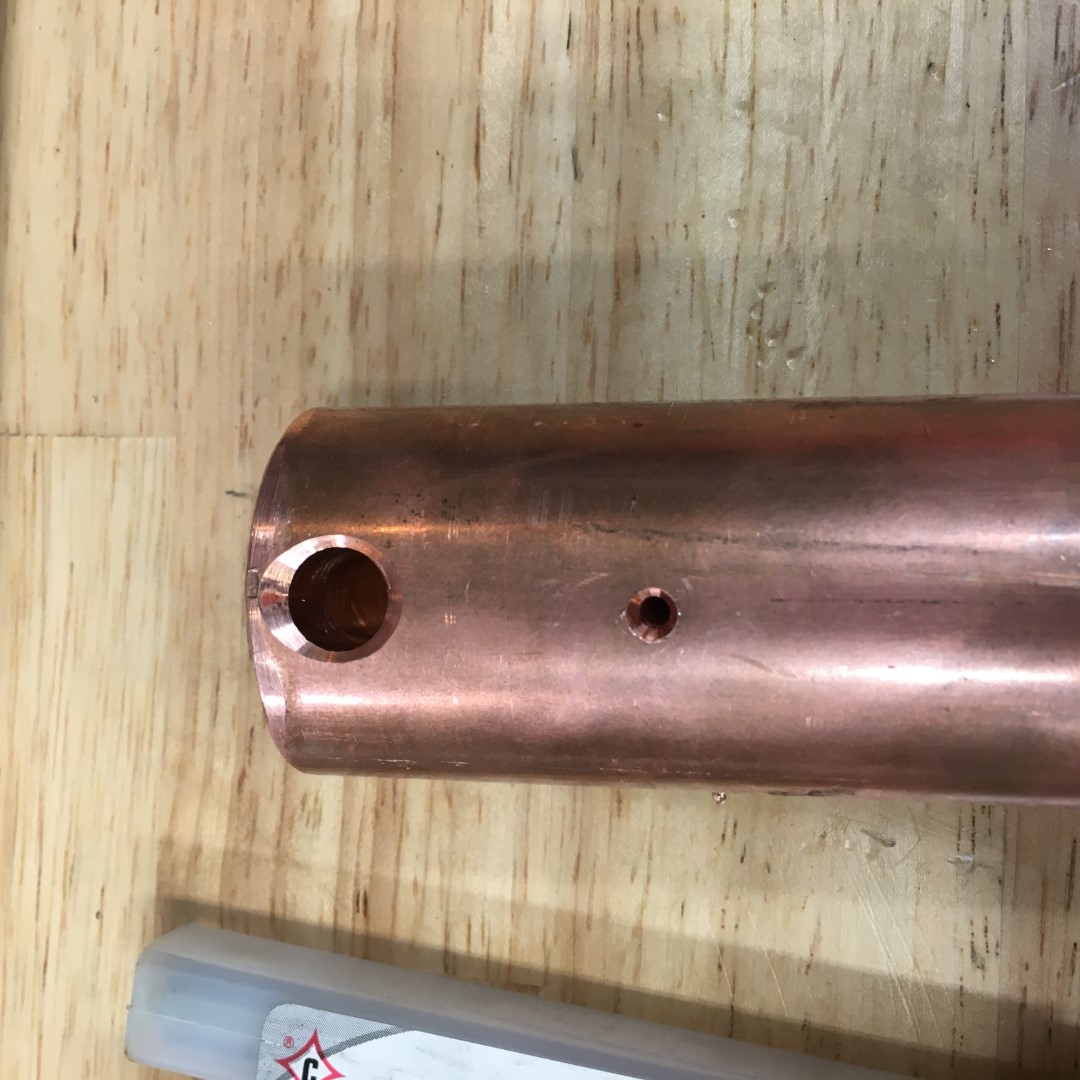
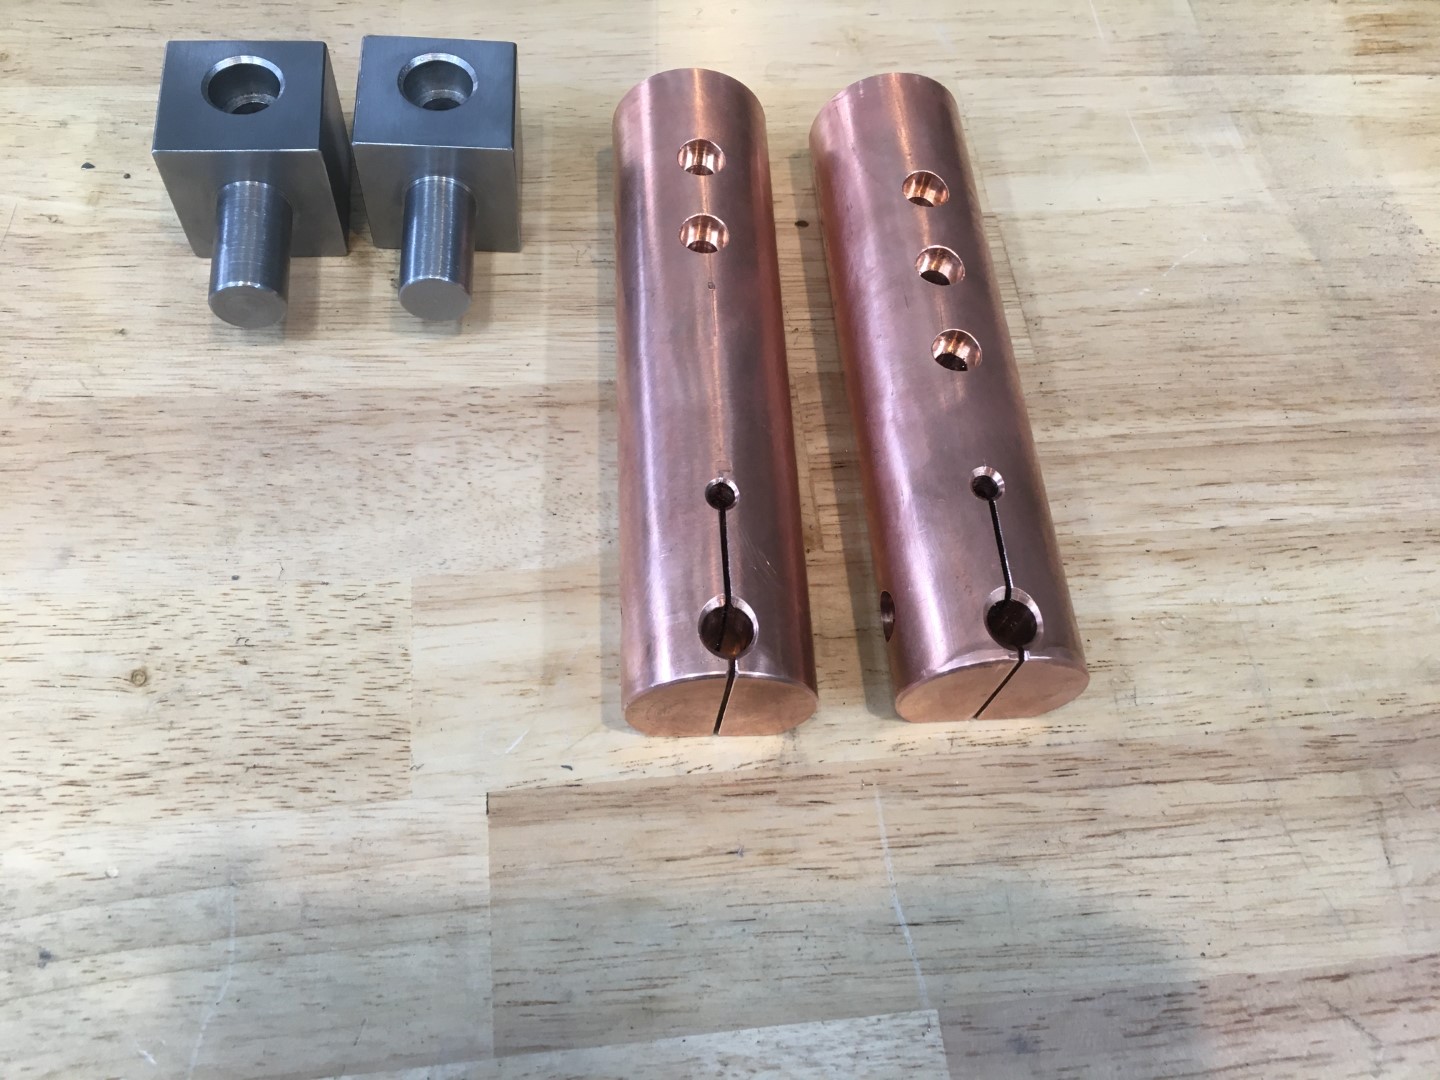
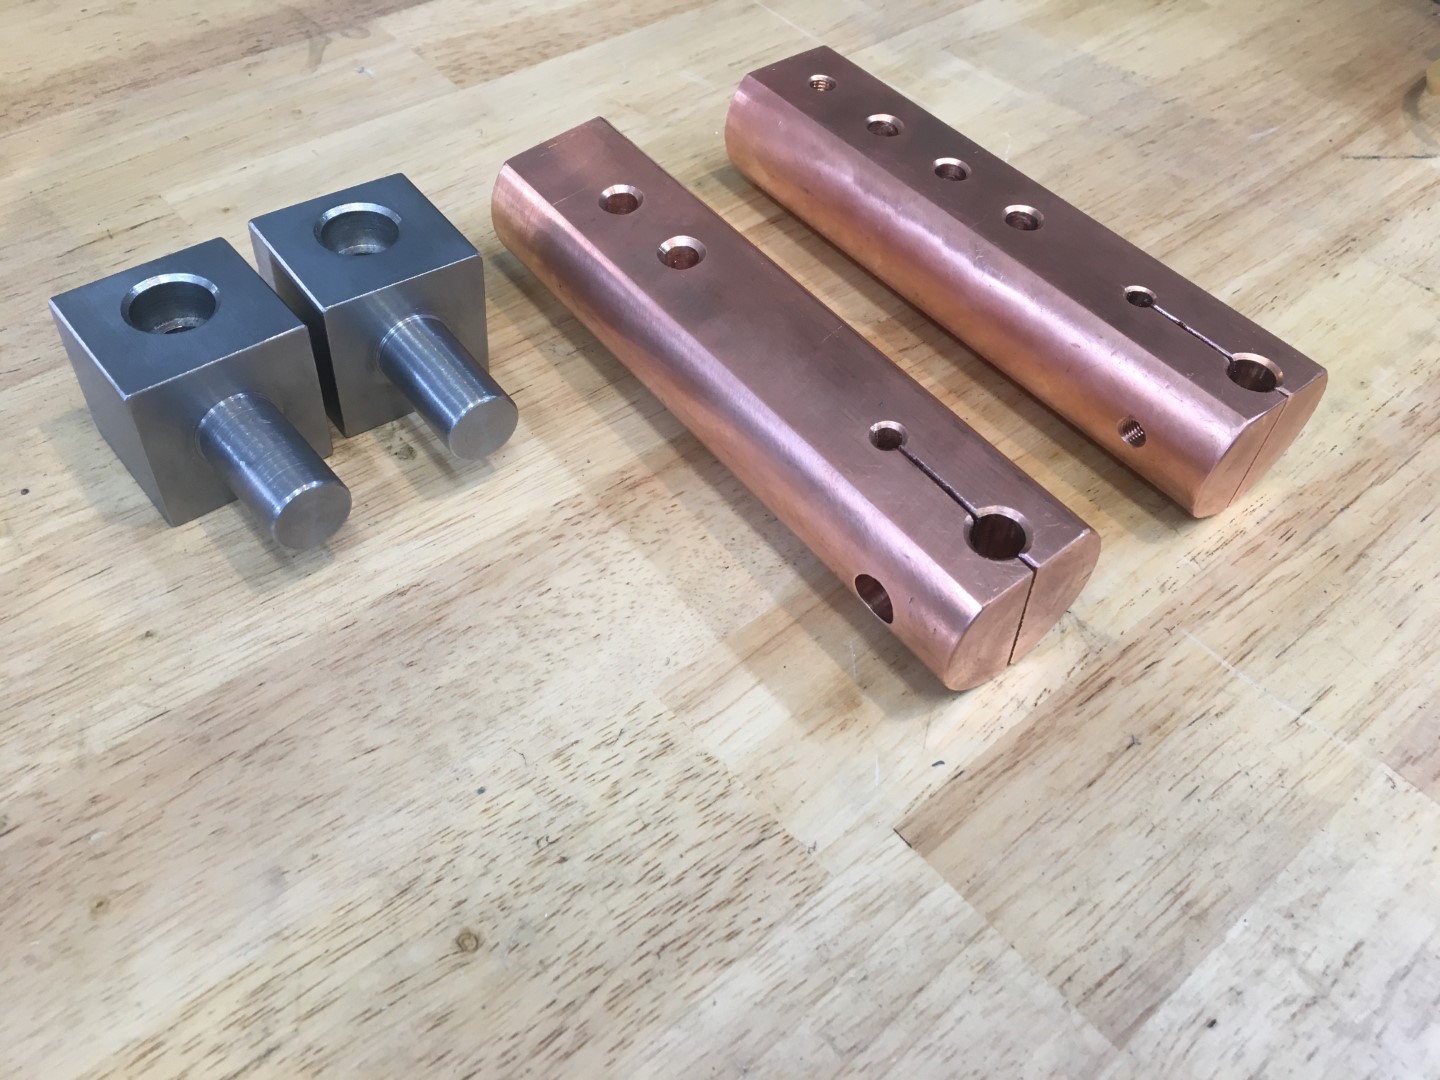
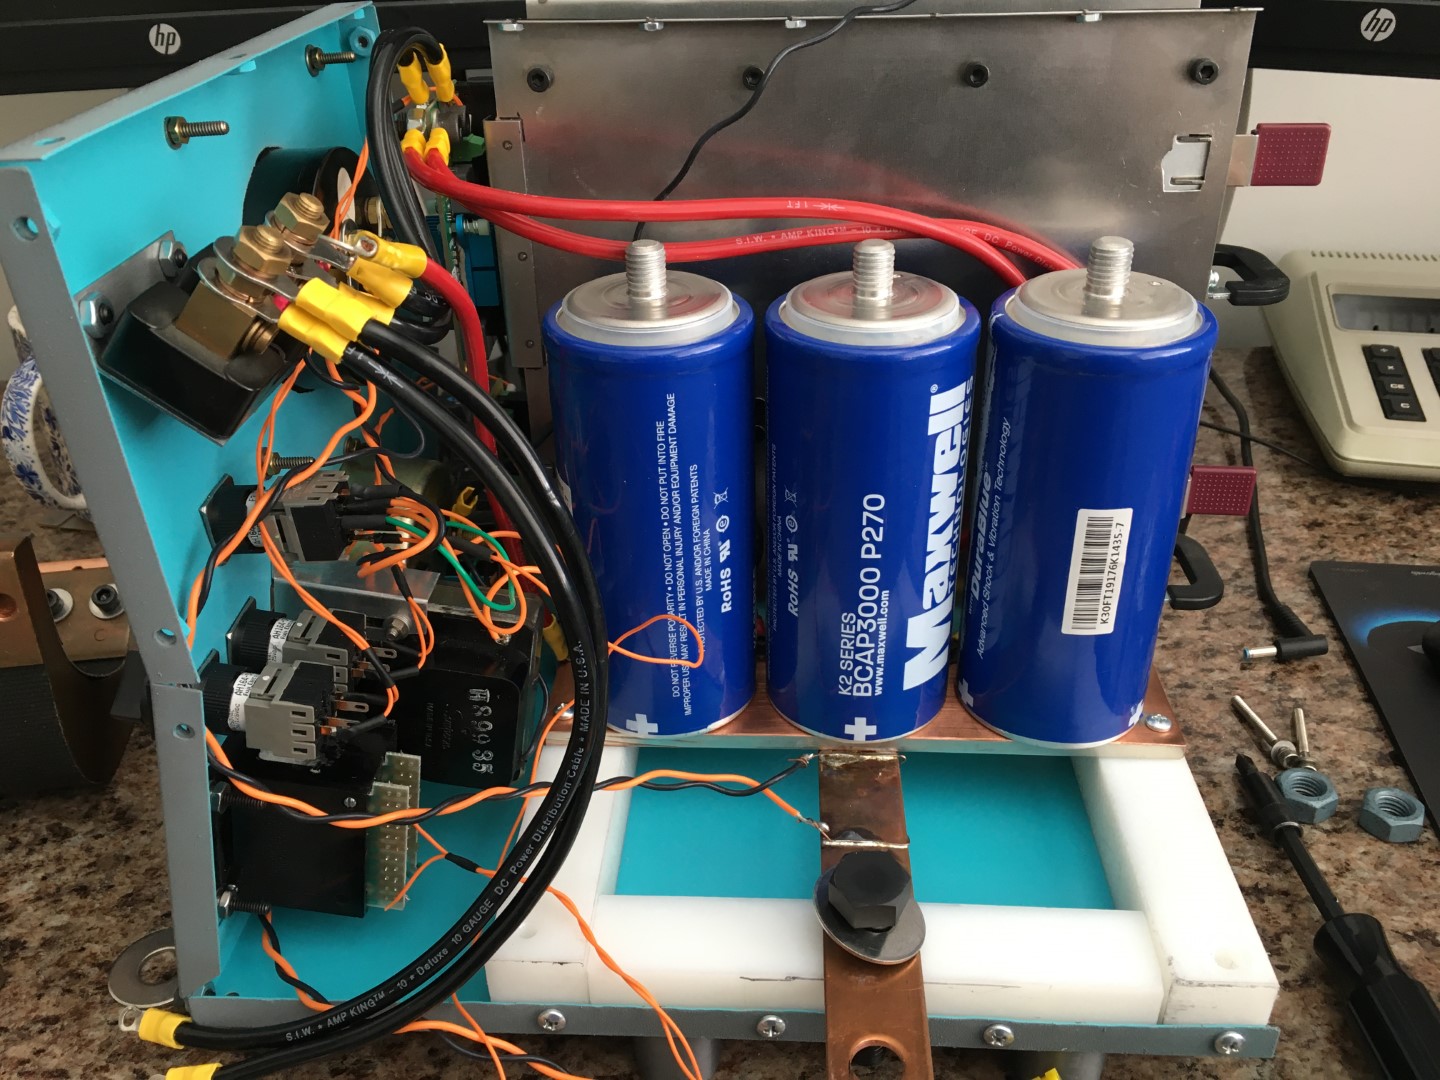
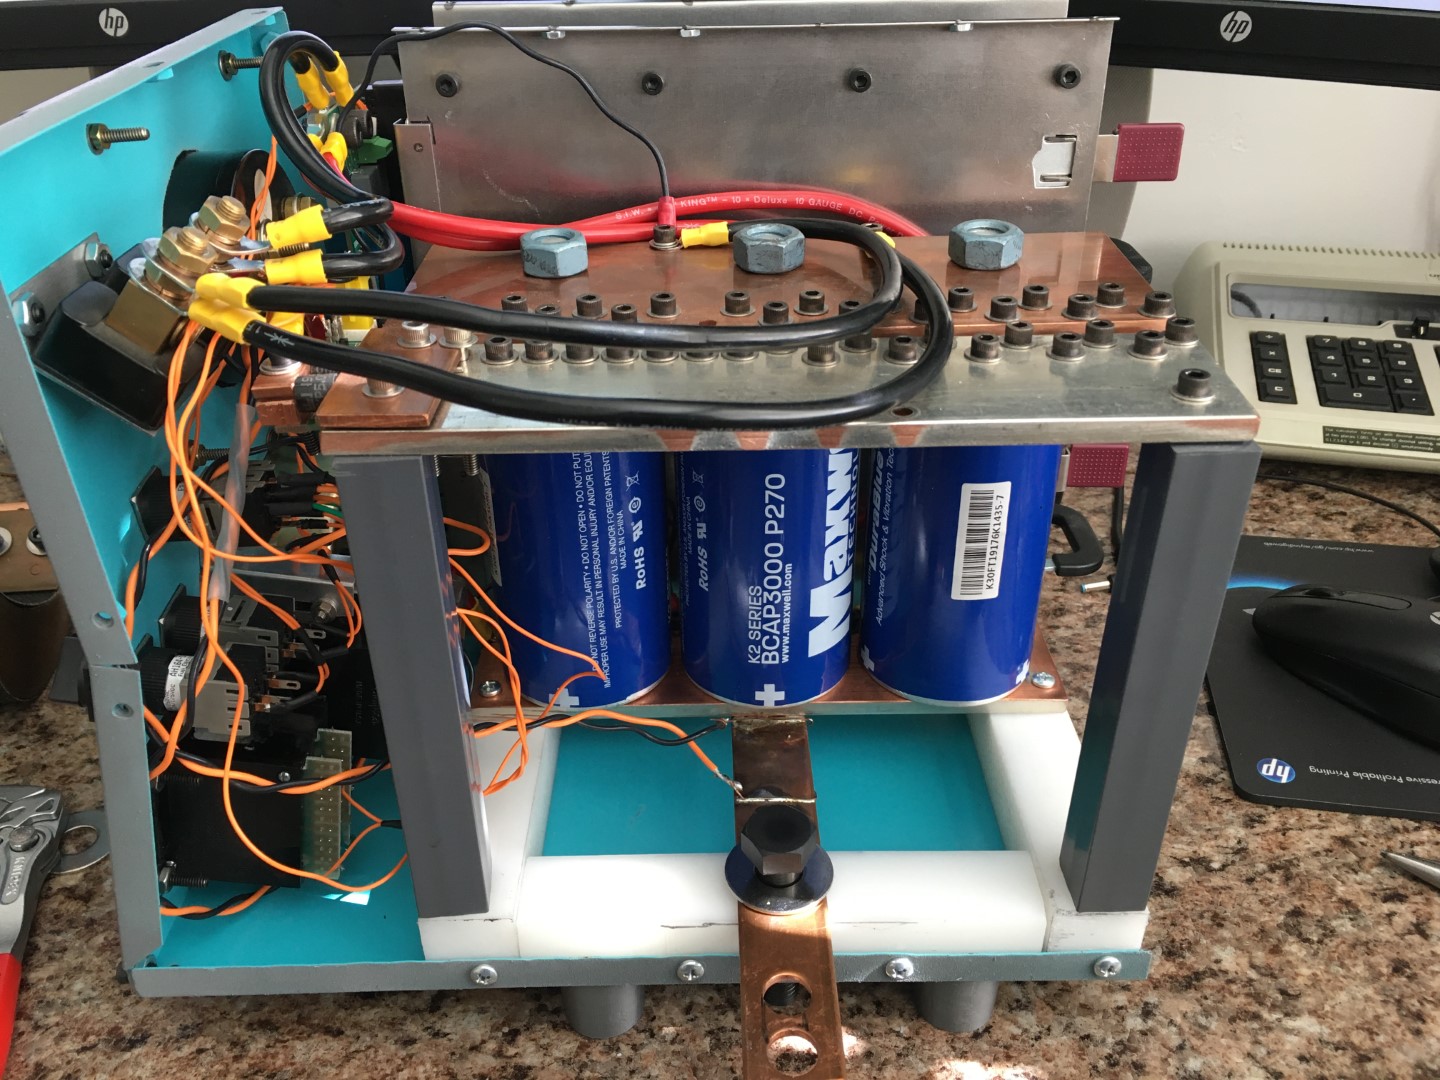
The welding circuit consisted of all the aforementioned components, simply assembled together, plus a lot of copper. As you might imagine, the copper was the most expensive component of the BOM.
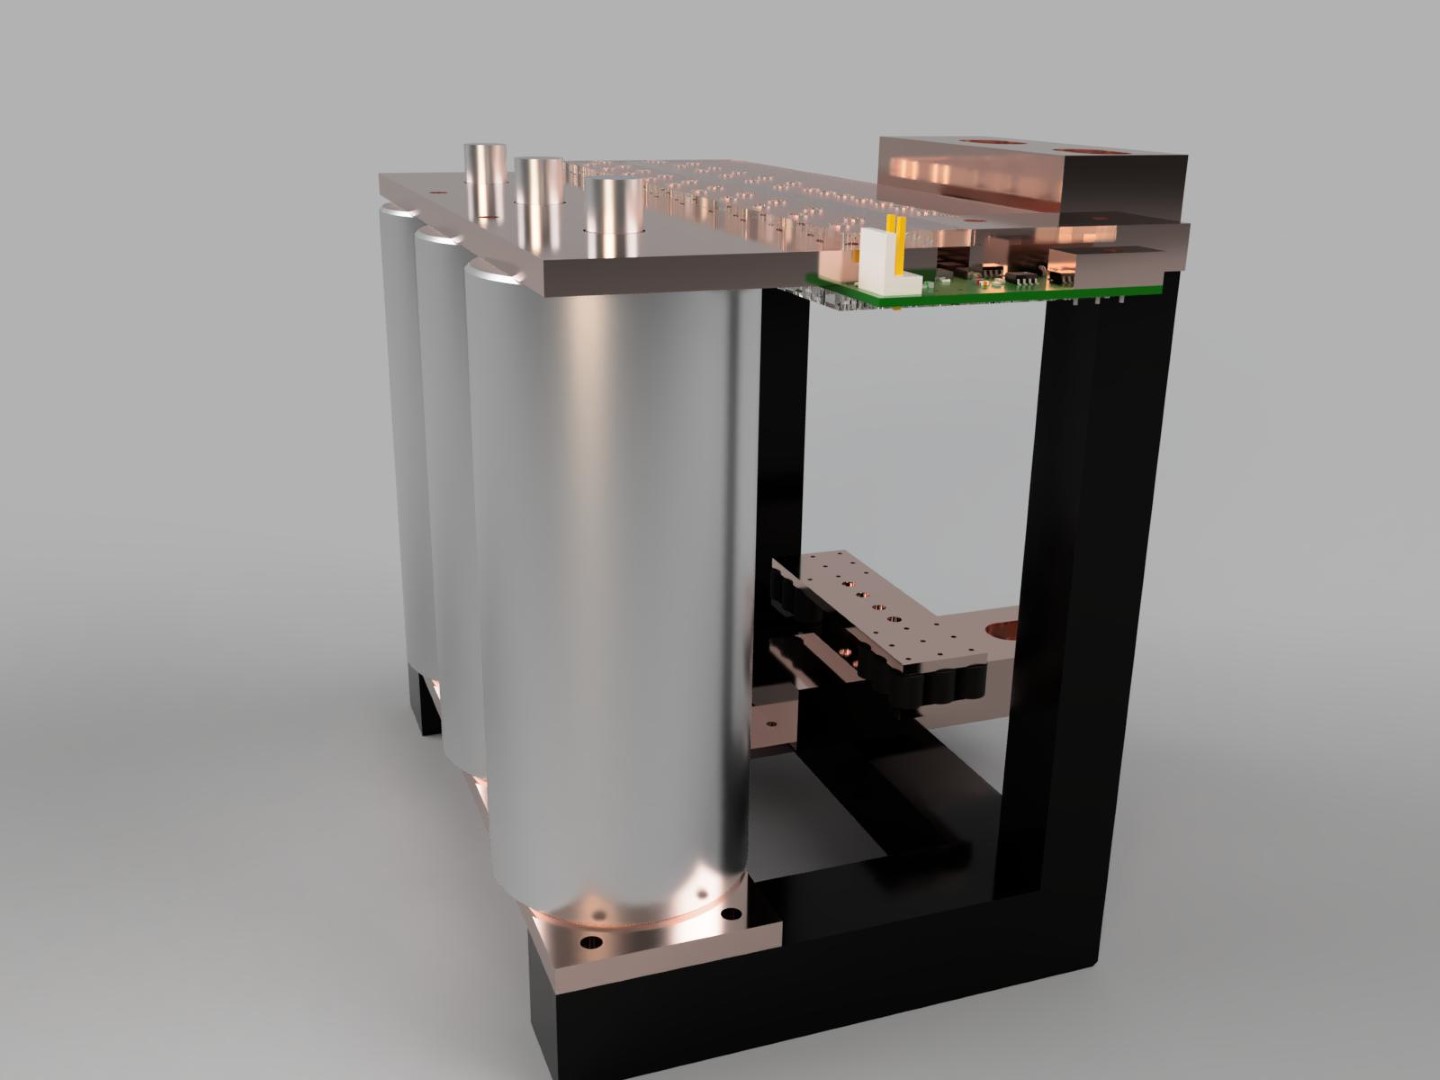
Here are the main components:
3x Maxwell 2.7V 3000F Capacitors
2x HP Server Power Supplies
1x kSupply buck converter
1x spot welding switch and timing board
A Lot of Copper
1x small Miyachi spot welding head, with custom electrodes
1x array of TVS diodes
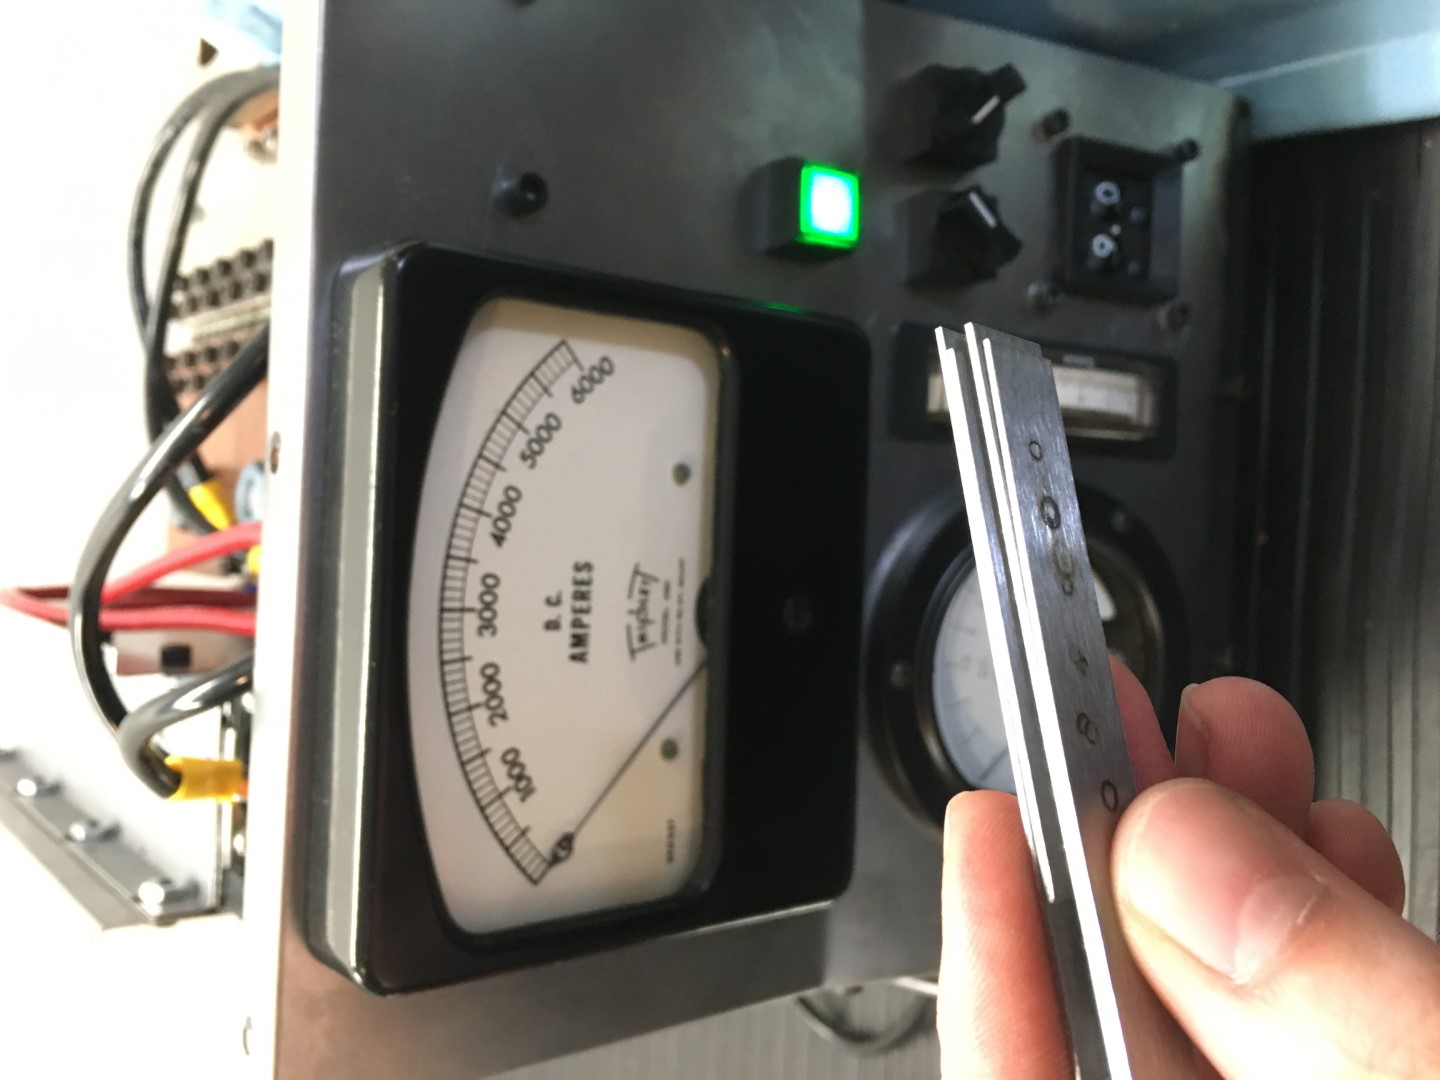
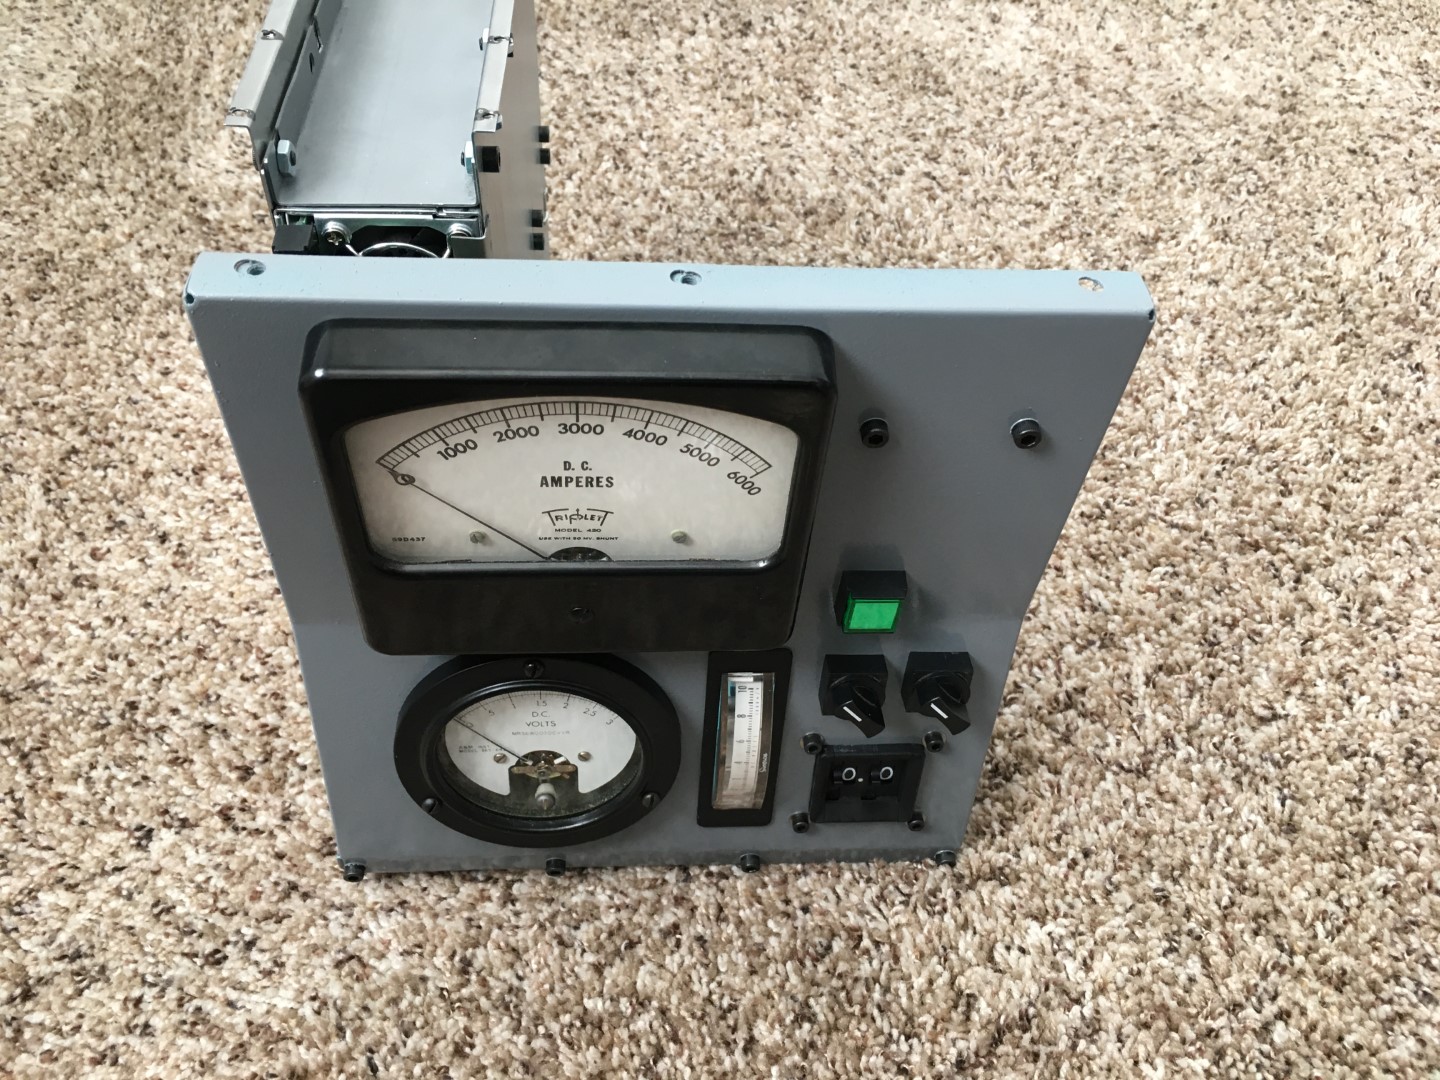
Various buttons, switches, a current shunt, and panel gauges
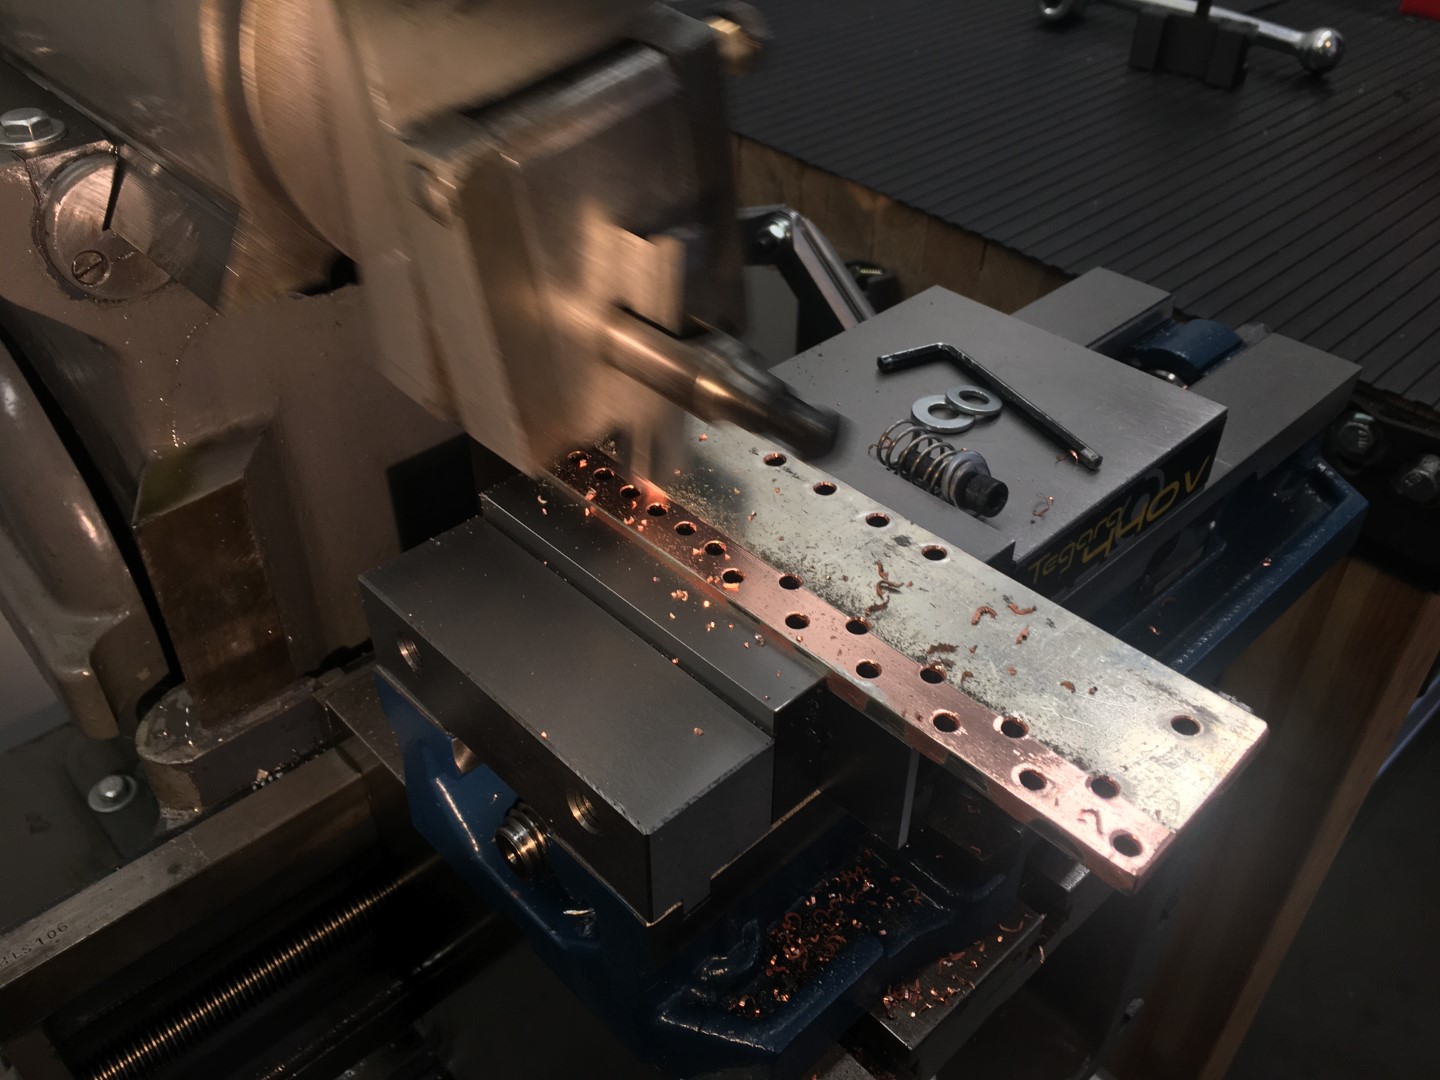
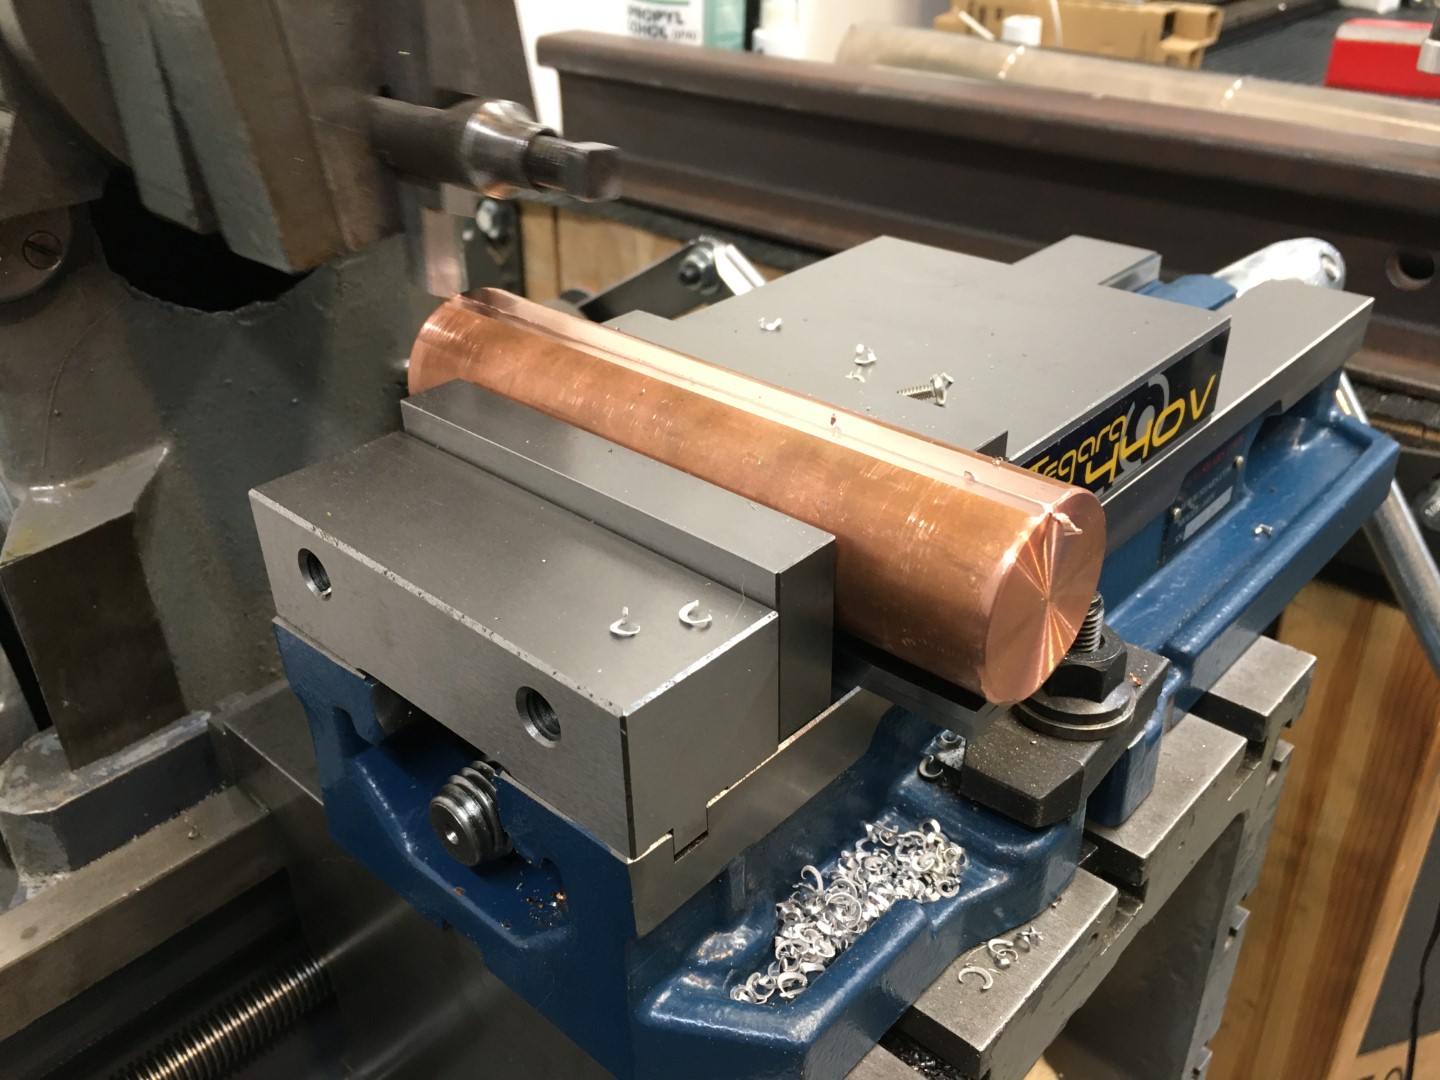
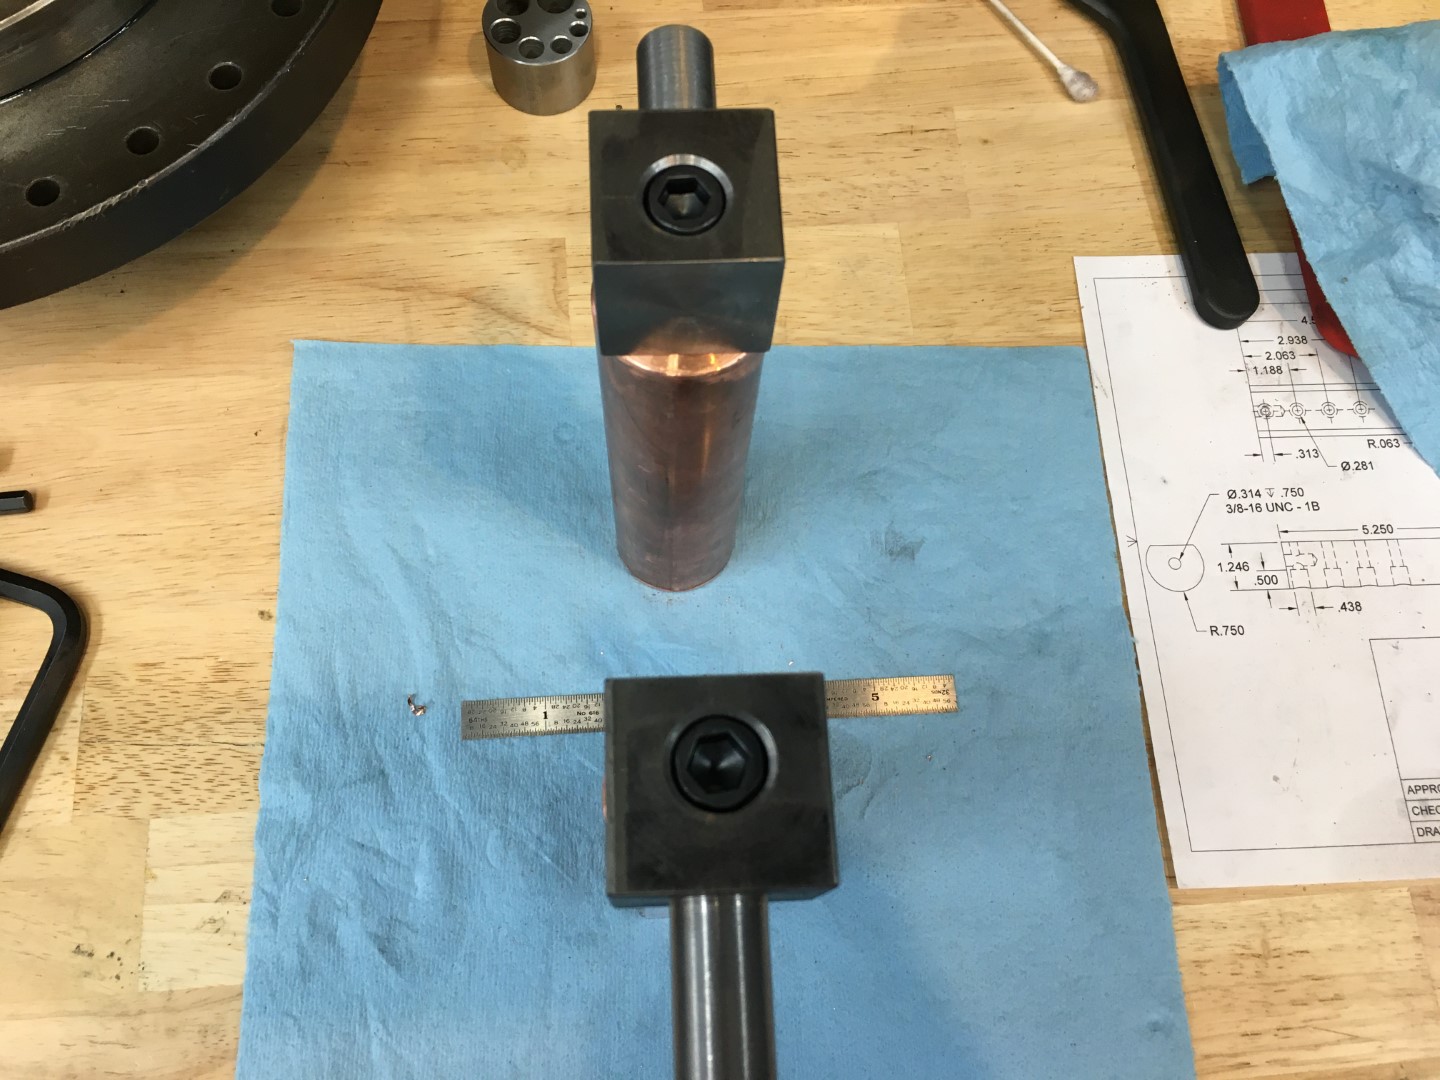
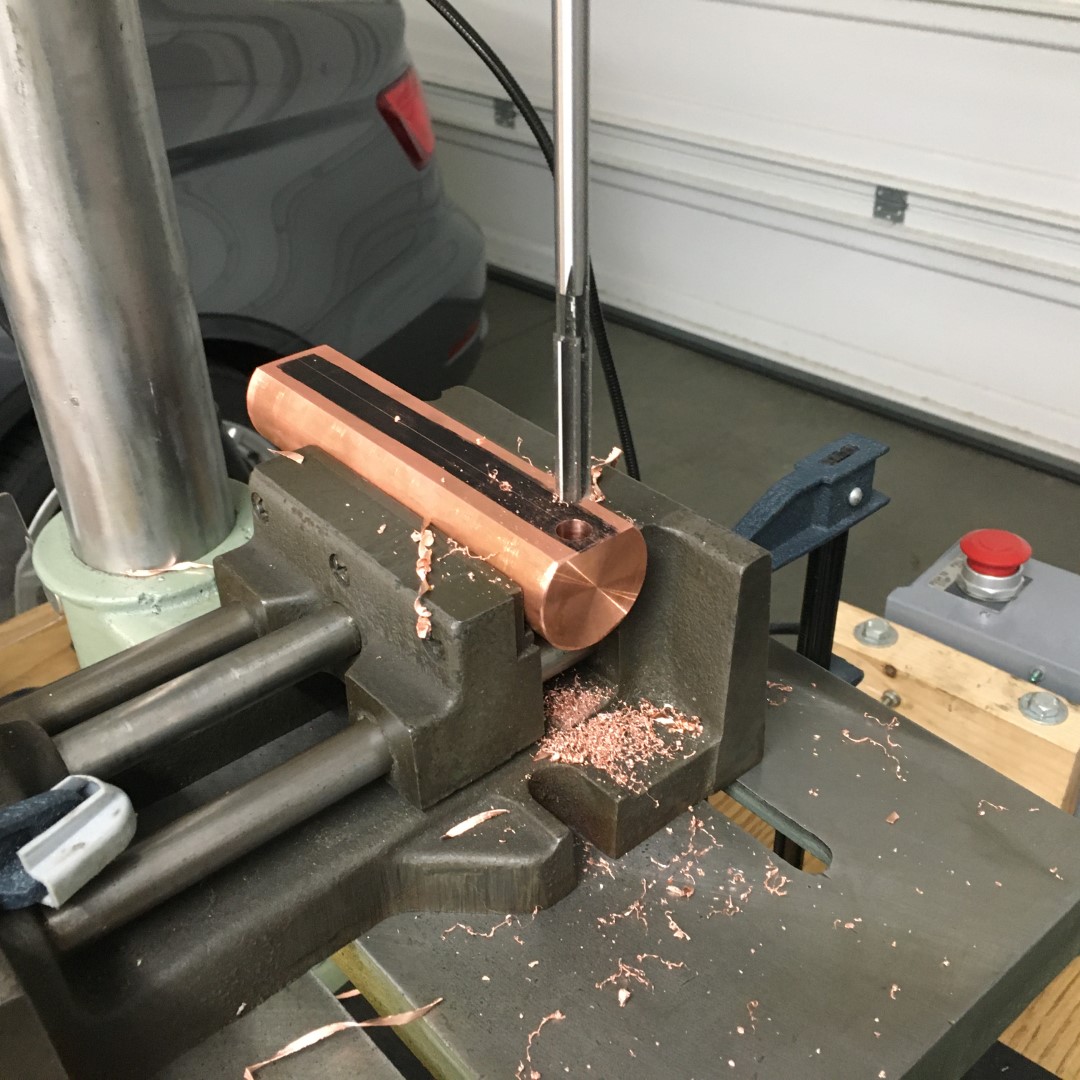
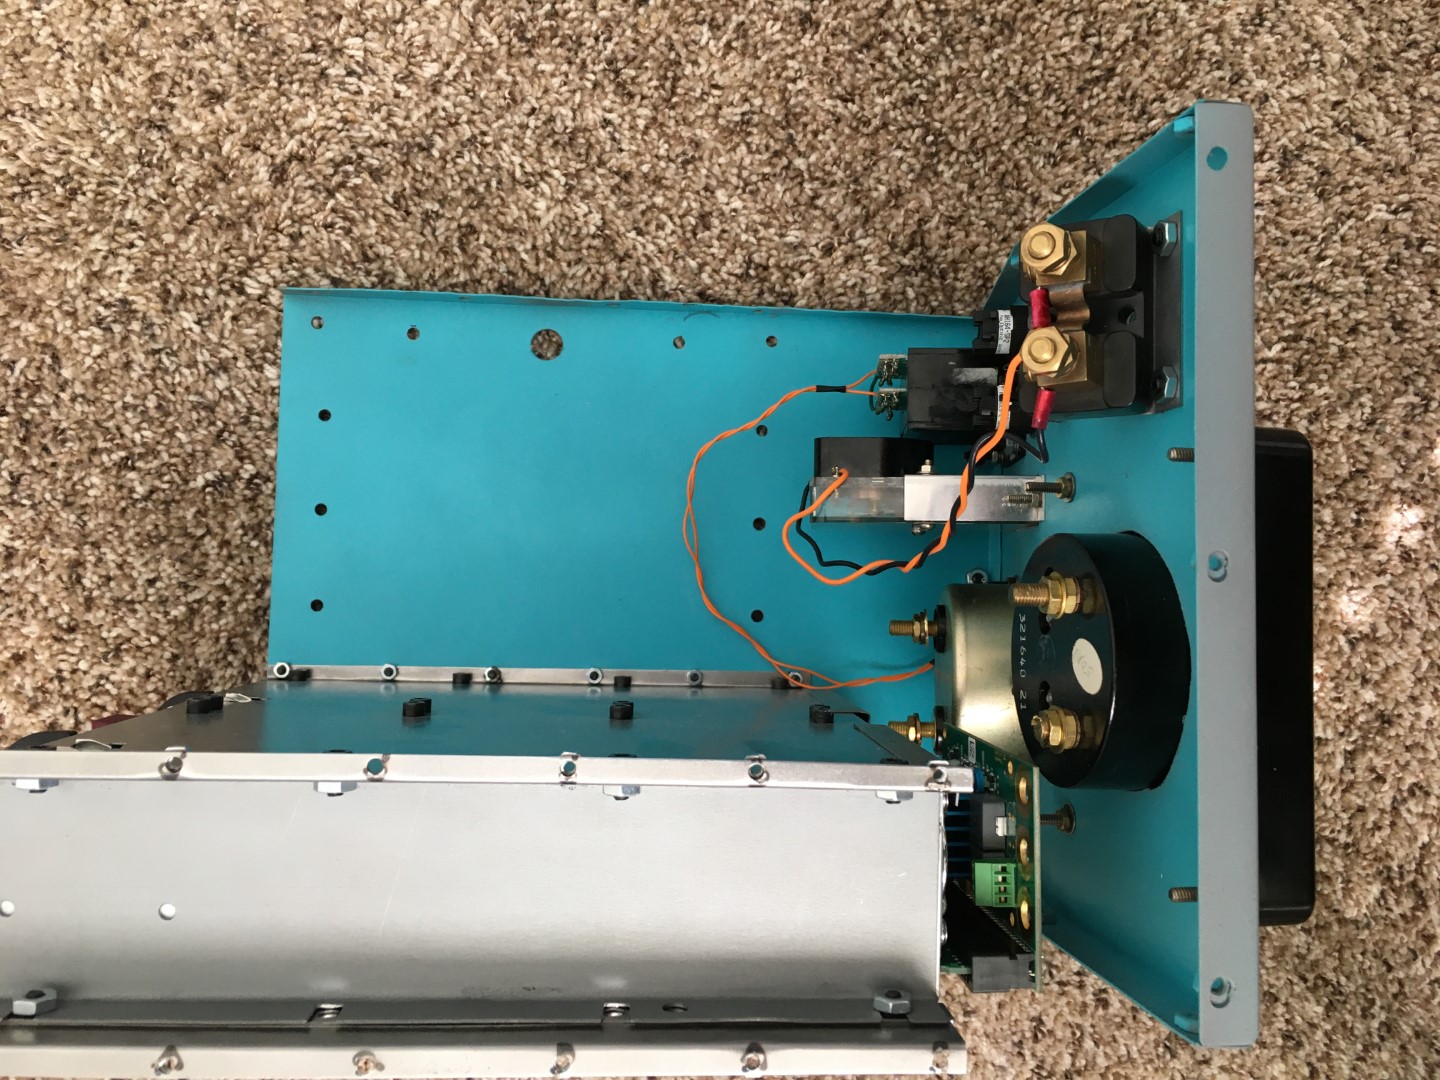
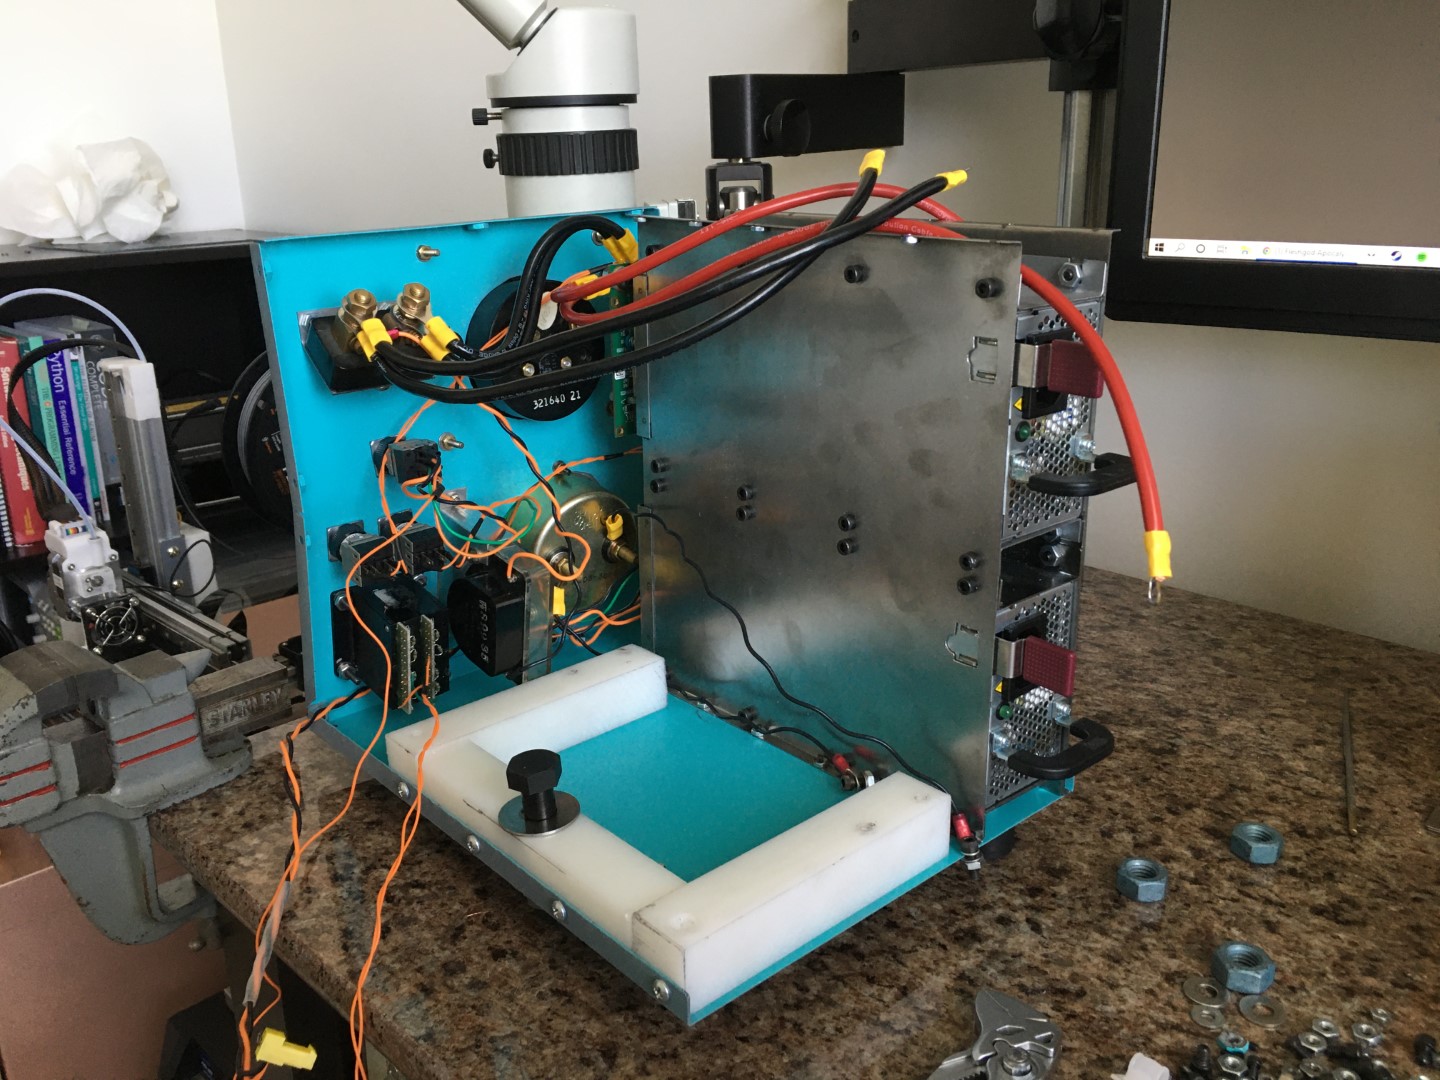
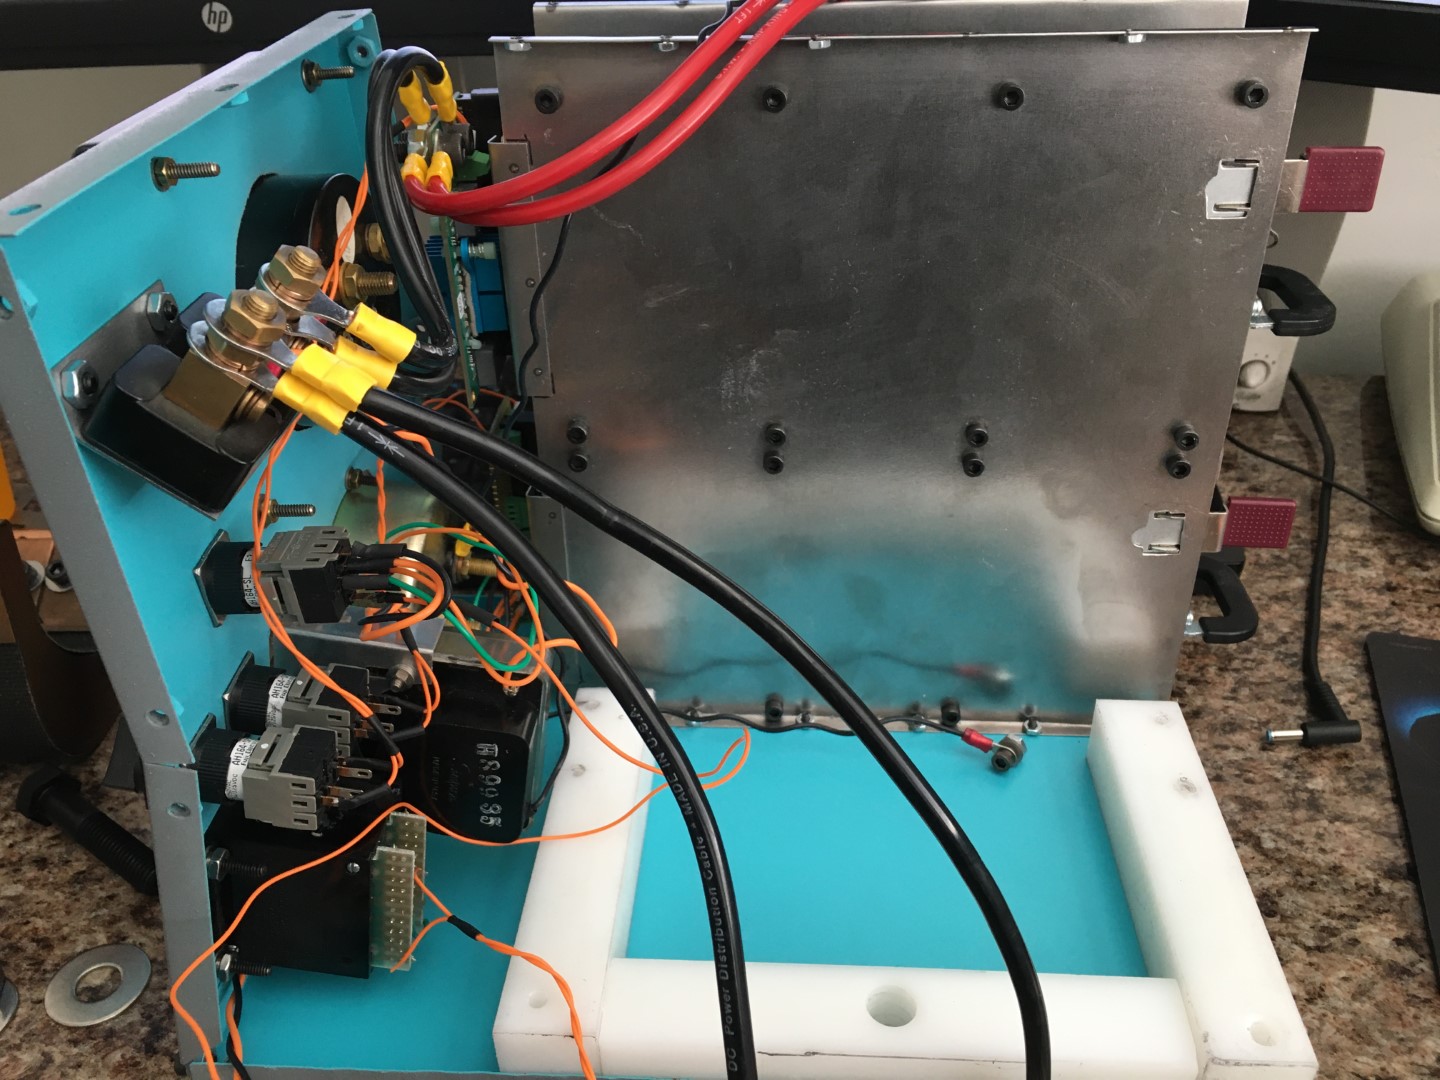
Construction
I decided to manufacture as much of the welder that I could. Here is a photo montage of the process.
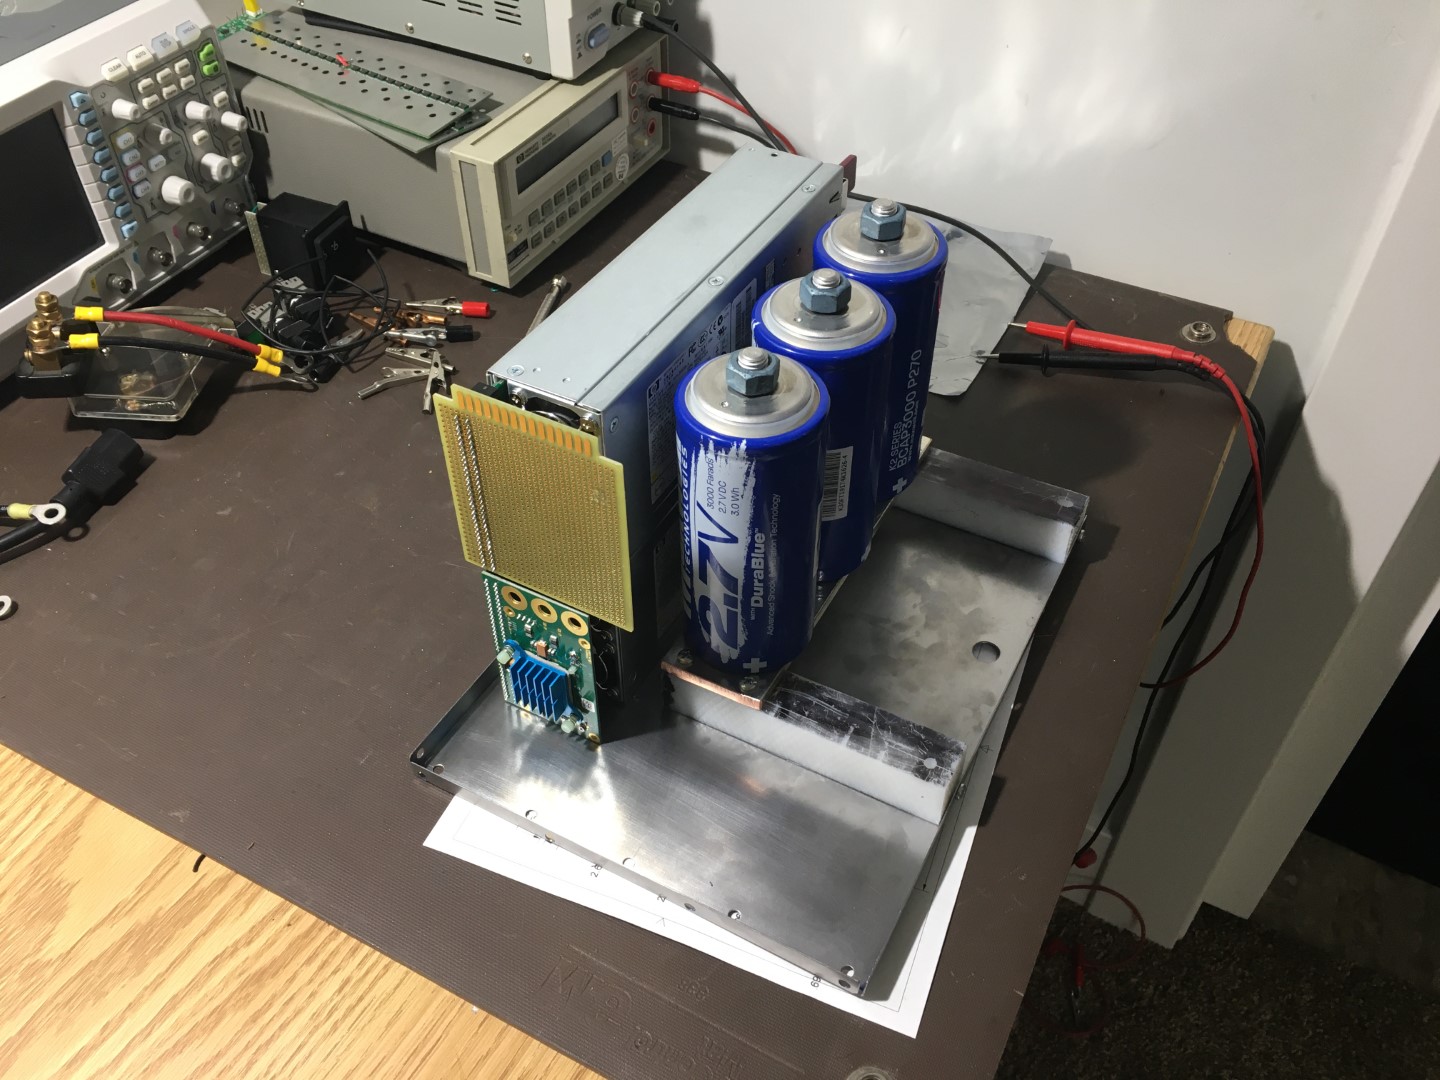
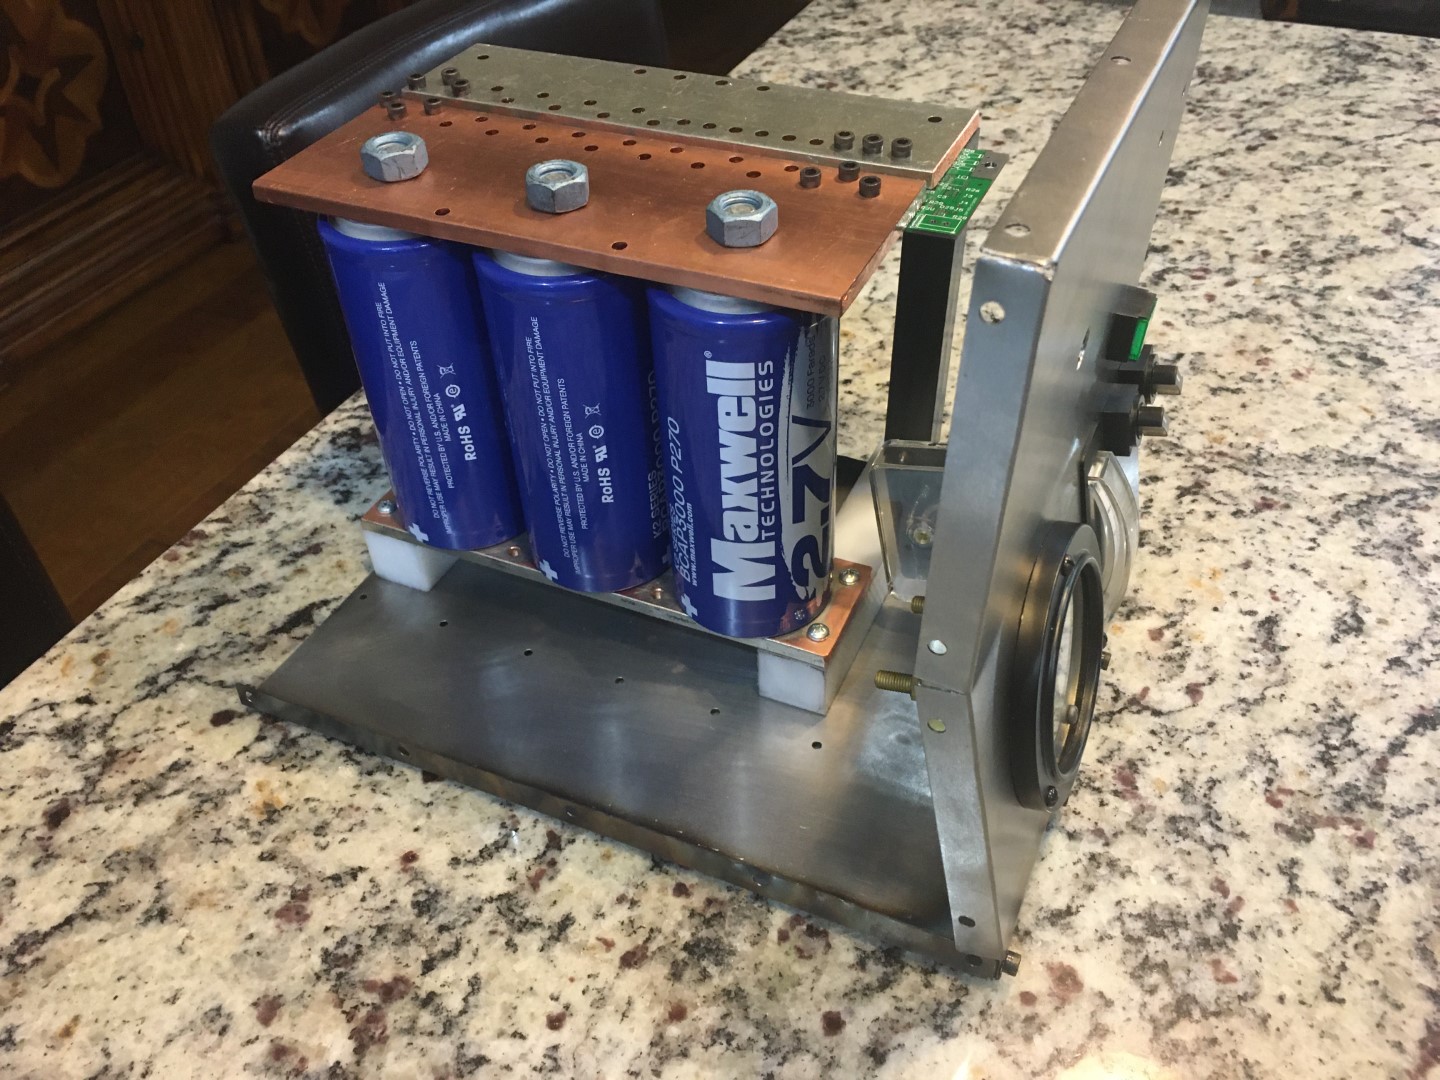

Assembly
After everything was built, cleaned up and painted, it was time for final assembly. Yes, I did use the spot welder to weld the nuts to the frame for assembly.

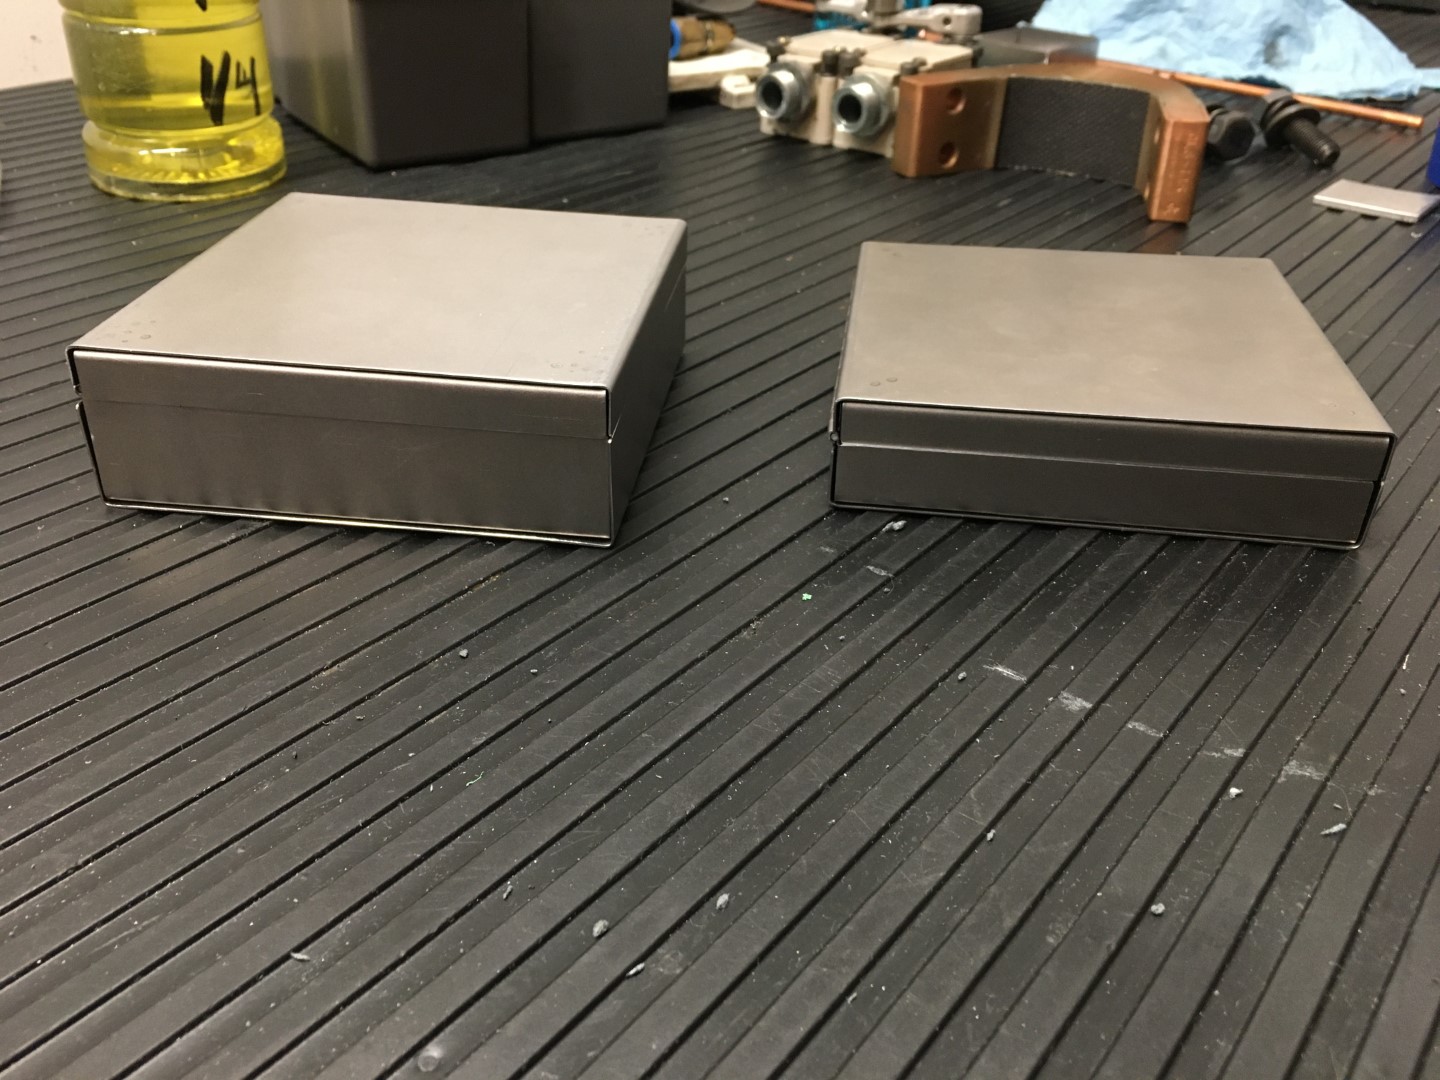
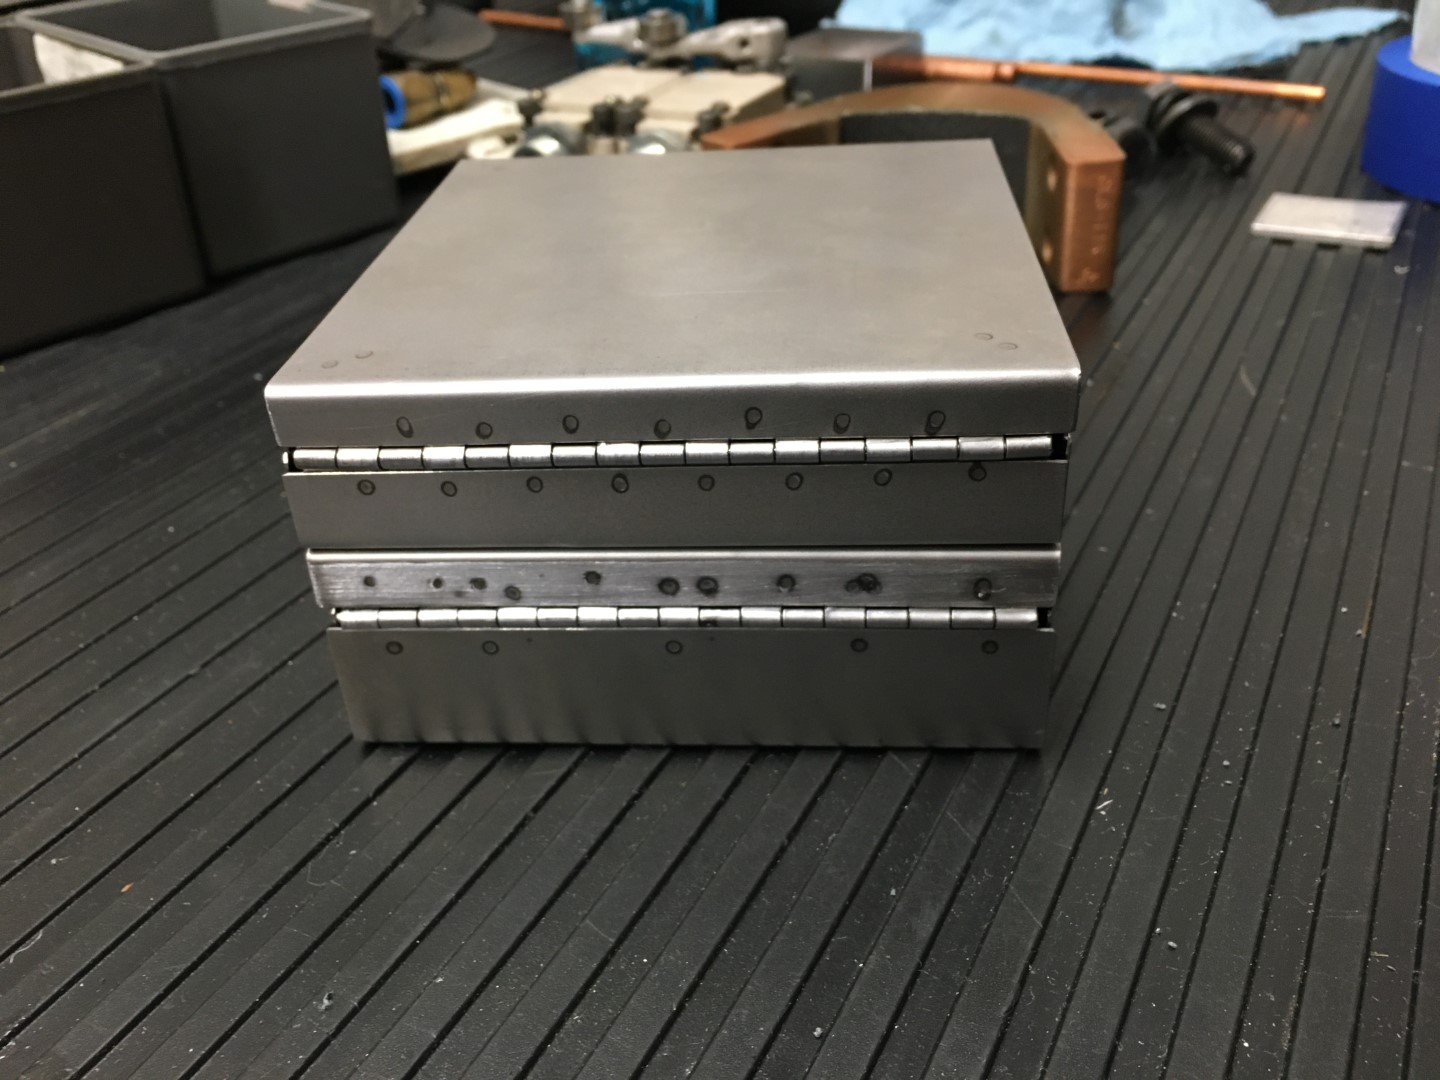
Results
Here are a few pictures of two simple box projects made with the welder, as well as a weld through several pieces of 22Ga steel to demonstrate its capability.