Surface Gage Build
Ever since learning how to scrape, I have wanted to build a replacement for one of my first ever tool purchases, a surface gage.
The Shars product I got when I first started machining works well enough, but I’ve always wanted to emulate the beautiful Hermann Schmidt design.
Design
First, lets discuss briefly what a Surface gage needs to do. A surface gage is a tool that is designed to make relative measurements or scribe markings that are compared to a flat plane.
Typically, they are employed with a surface plate in order to accomplish this.
Accuracy in measurement is attained by a rigid structure that holds a measuring device, typically a dial test indicator or a dial indicator.
For the users benefit, the device must incorporate a fine adjust feature that allows the user to manipulate the measuring device very subtly.
So, the device needs to be:
- Rigid
- Suitable for surface plate metrology
- Incorporate a fine adjust feature
Bonus features are fit and finish.
The design will follow the Hermann Schmidt design. This design is really wonderful, a single spring steel sheet metal component in the front creates a flexture that is manipulated by a screw in the back of the gage. Turning the screw up and down will therefore change the angle of the attachment mast, and therefore provide a mechanism for fine adjustment.
My incarnation of this design will use grey cast iron for the base pieces, and 301 full-hard stainless steel for the spring. The fine-adjust knob will be made of whatever steel I have on hand. I’ll make the attachment mast from 0.500” case-hardened ground stock.
Build
I used a metal bandsaw, milling machine, and metal lathe for this build.
Base
The base of the instrument will come from grey cast iron stock. Grey cast iron is a fine match for the application because it is heavy, stable, and the application is not mechanically rigorous.
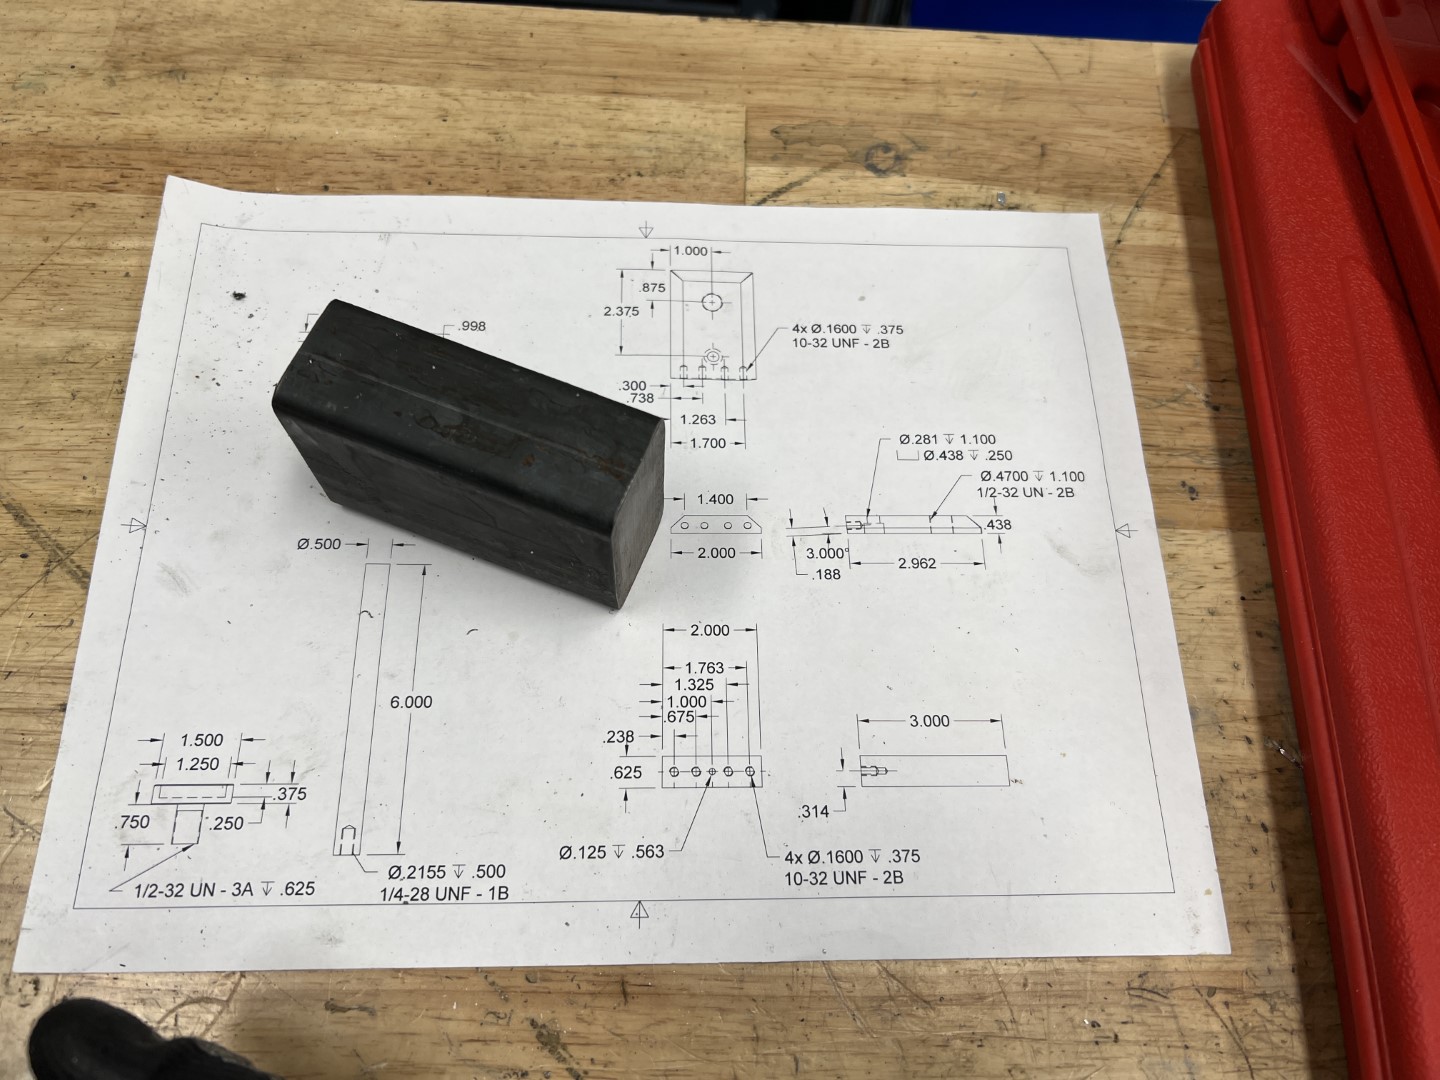
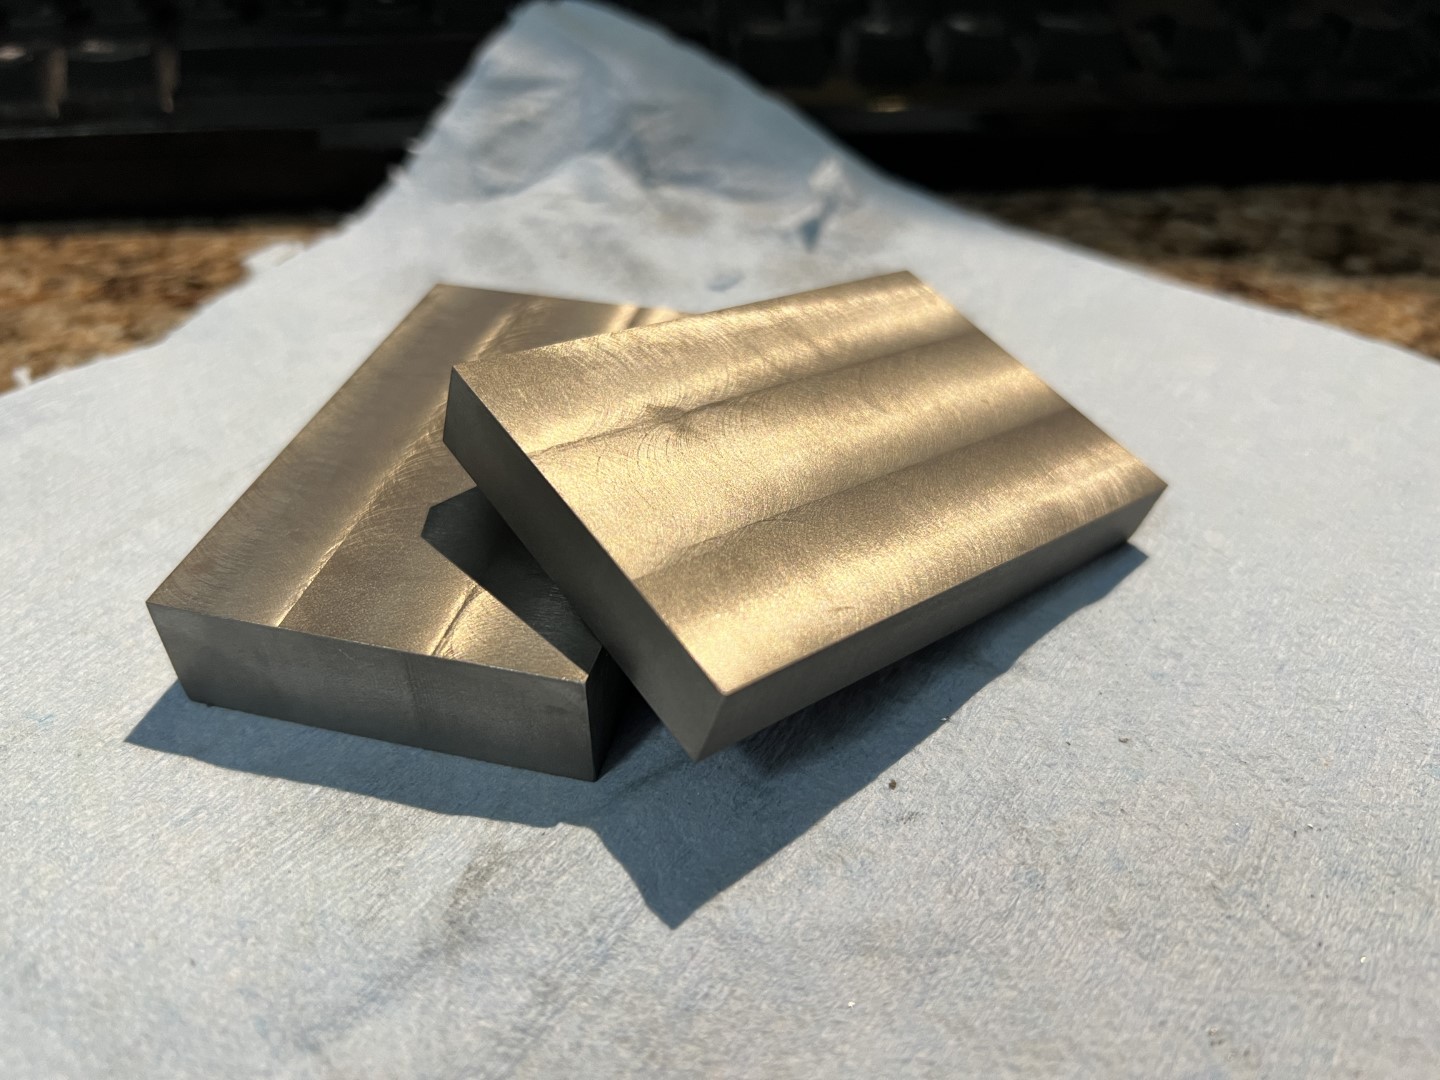
I started with a ~3” section of 2.25”X1.25” cast iron stock ordered from McMaster-Carr. To my surprise, this is a very expensive material, and is not available in my different sizes. however, I was able to make both the top and bottom components from this size.
First step was to rough-cut the material on the bandsaw.
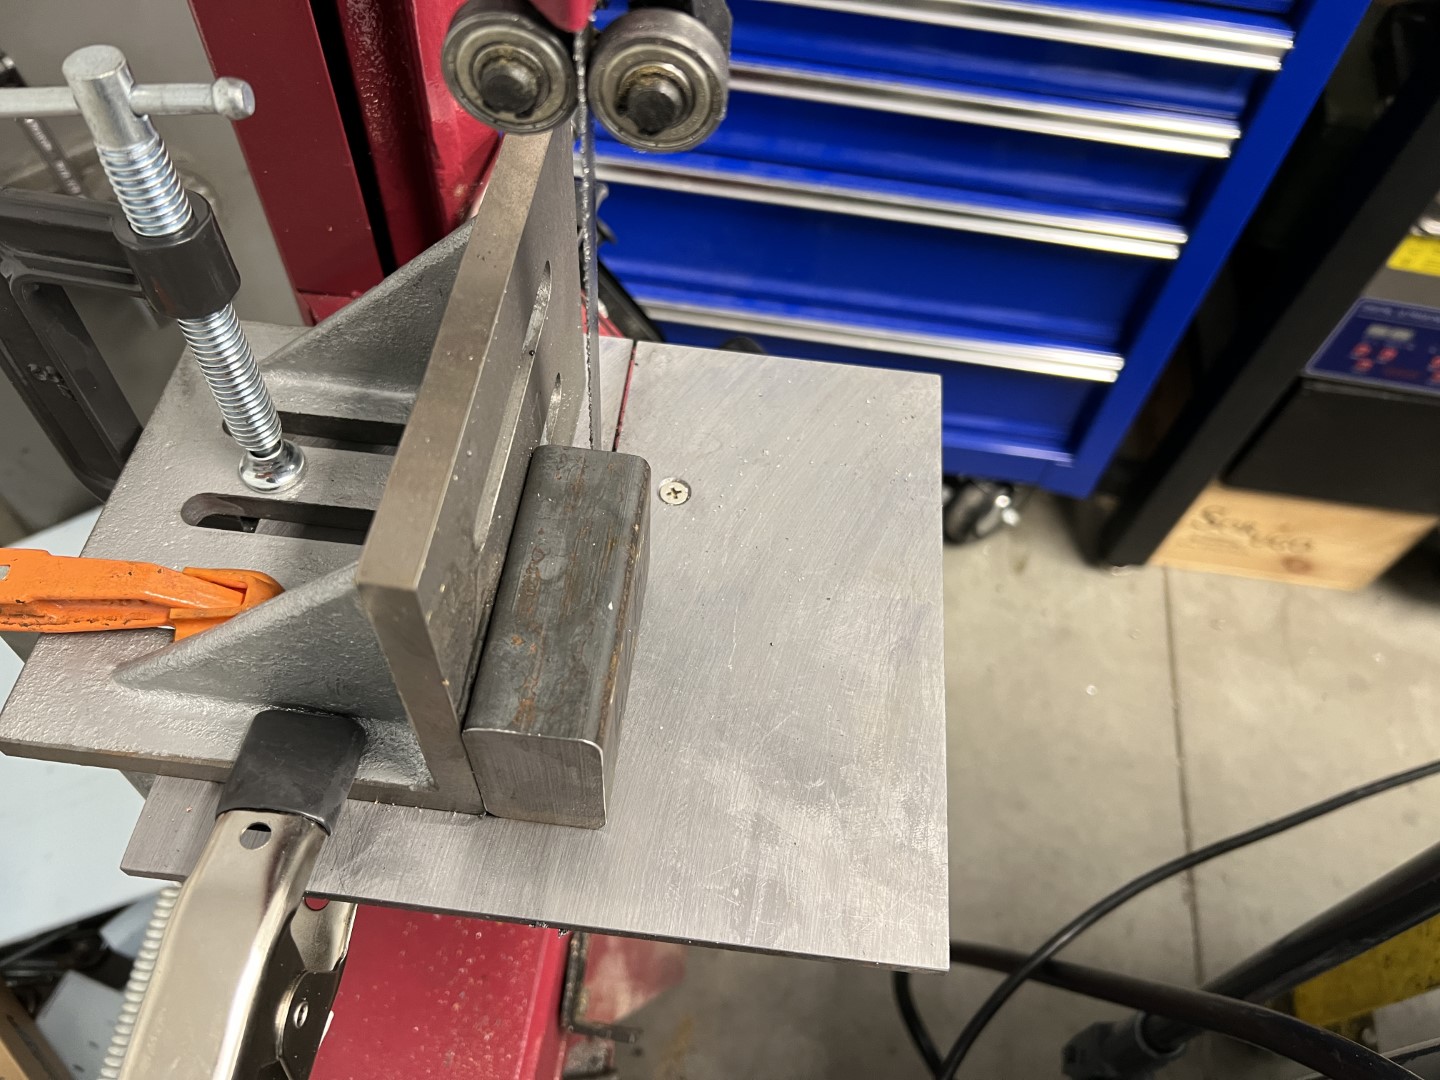
Next, each piece was milled to size on the milling machine.
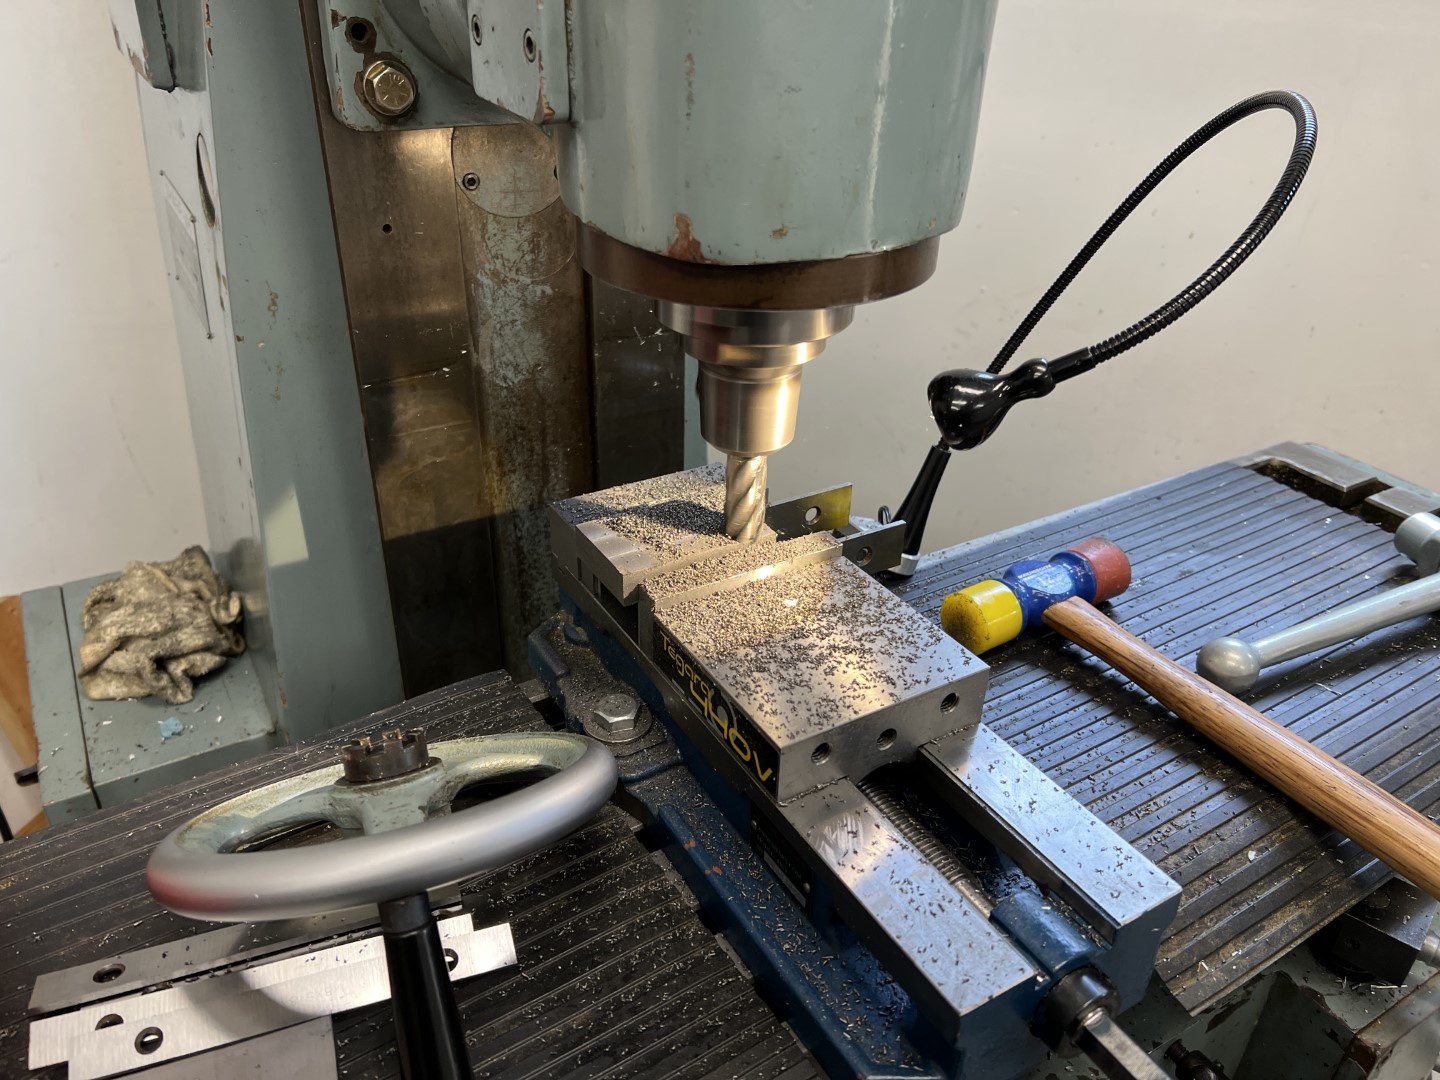
Followed by mounting points for the attachment mast and fine-adjust screw.
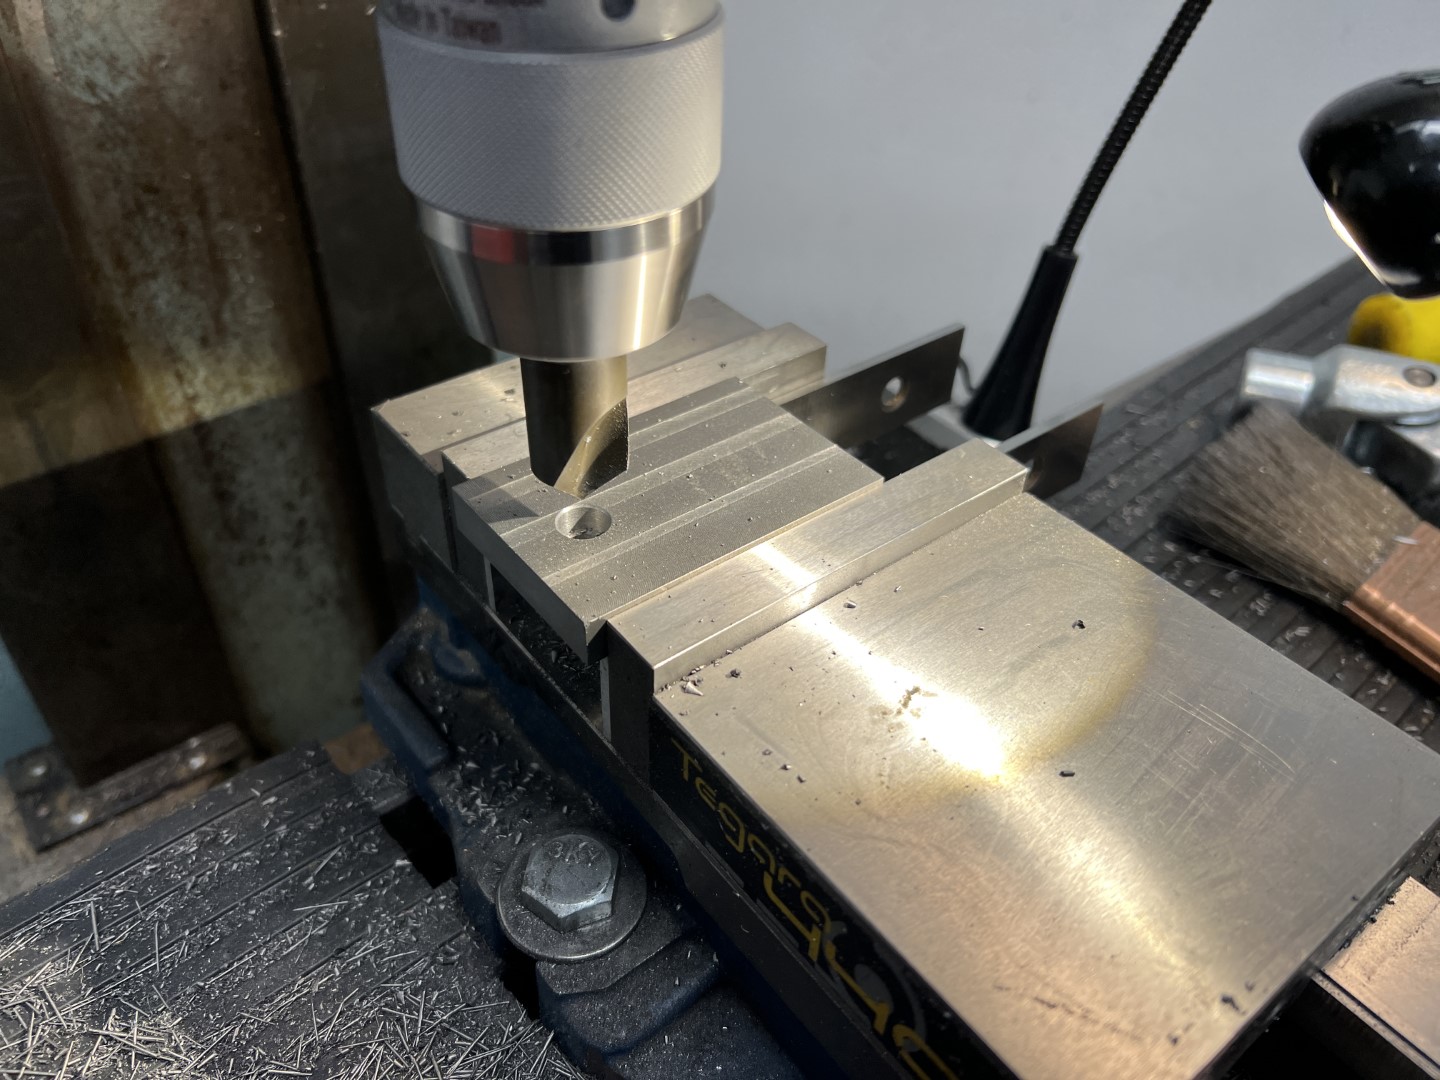
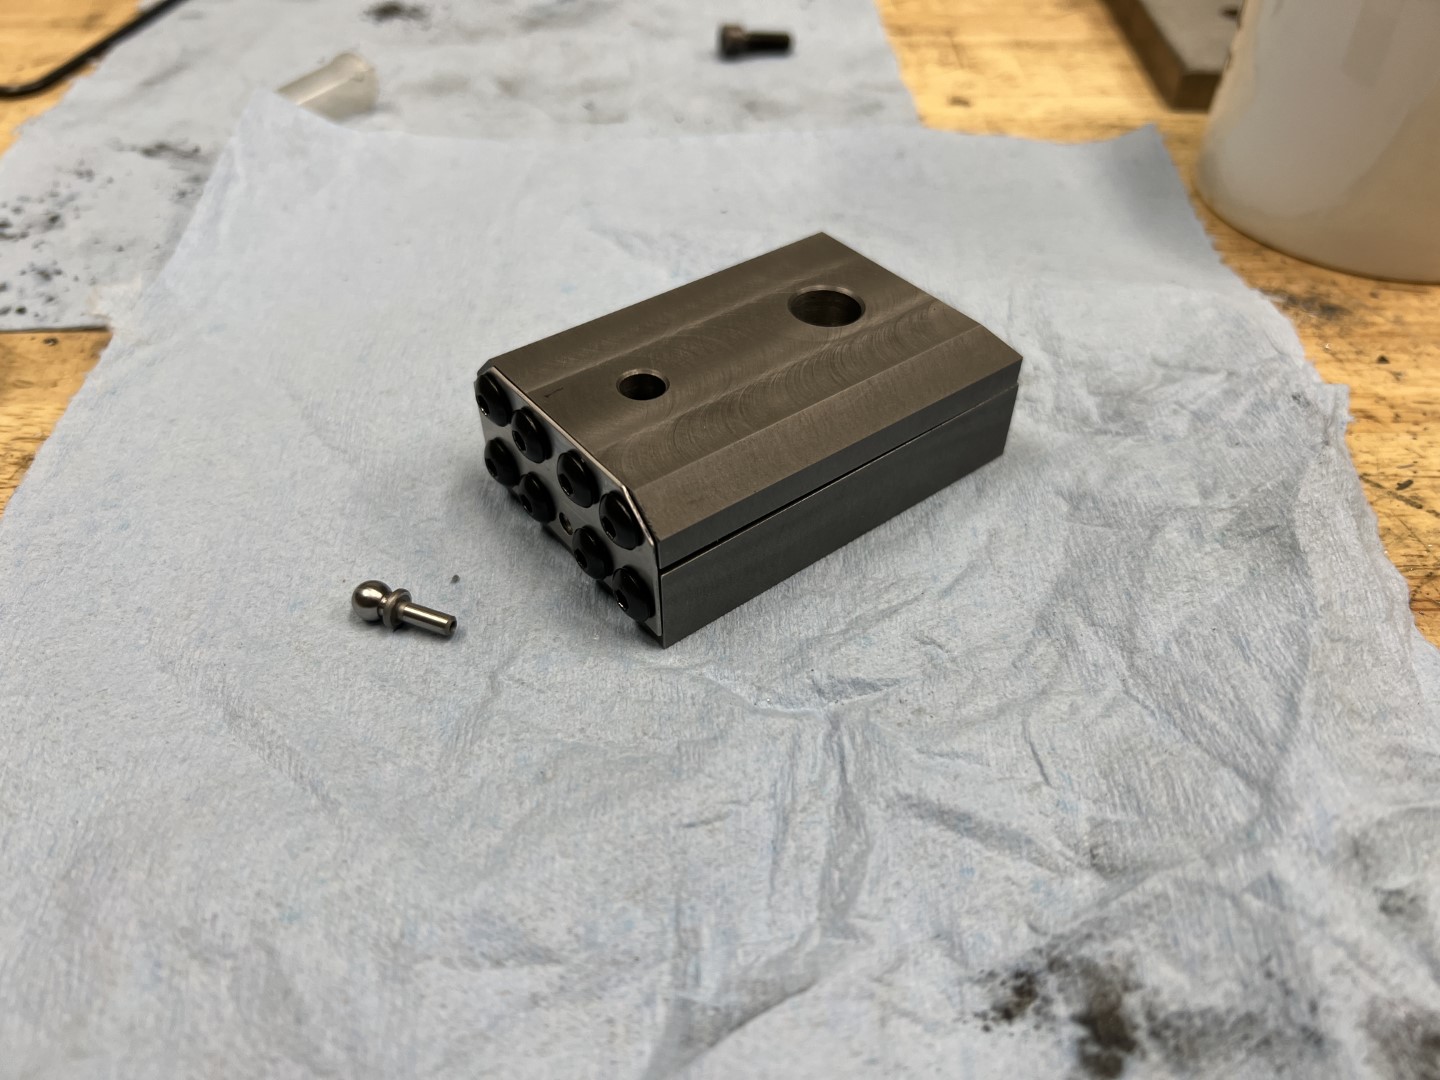
In this design, there are 8 holes requires to attach a flexture spring, I used #10-32 screws to do so, and the holes were cut. The top section required mounting holes for the fine-adjust knob as well as the attachment mast.
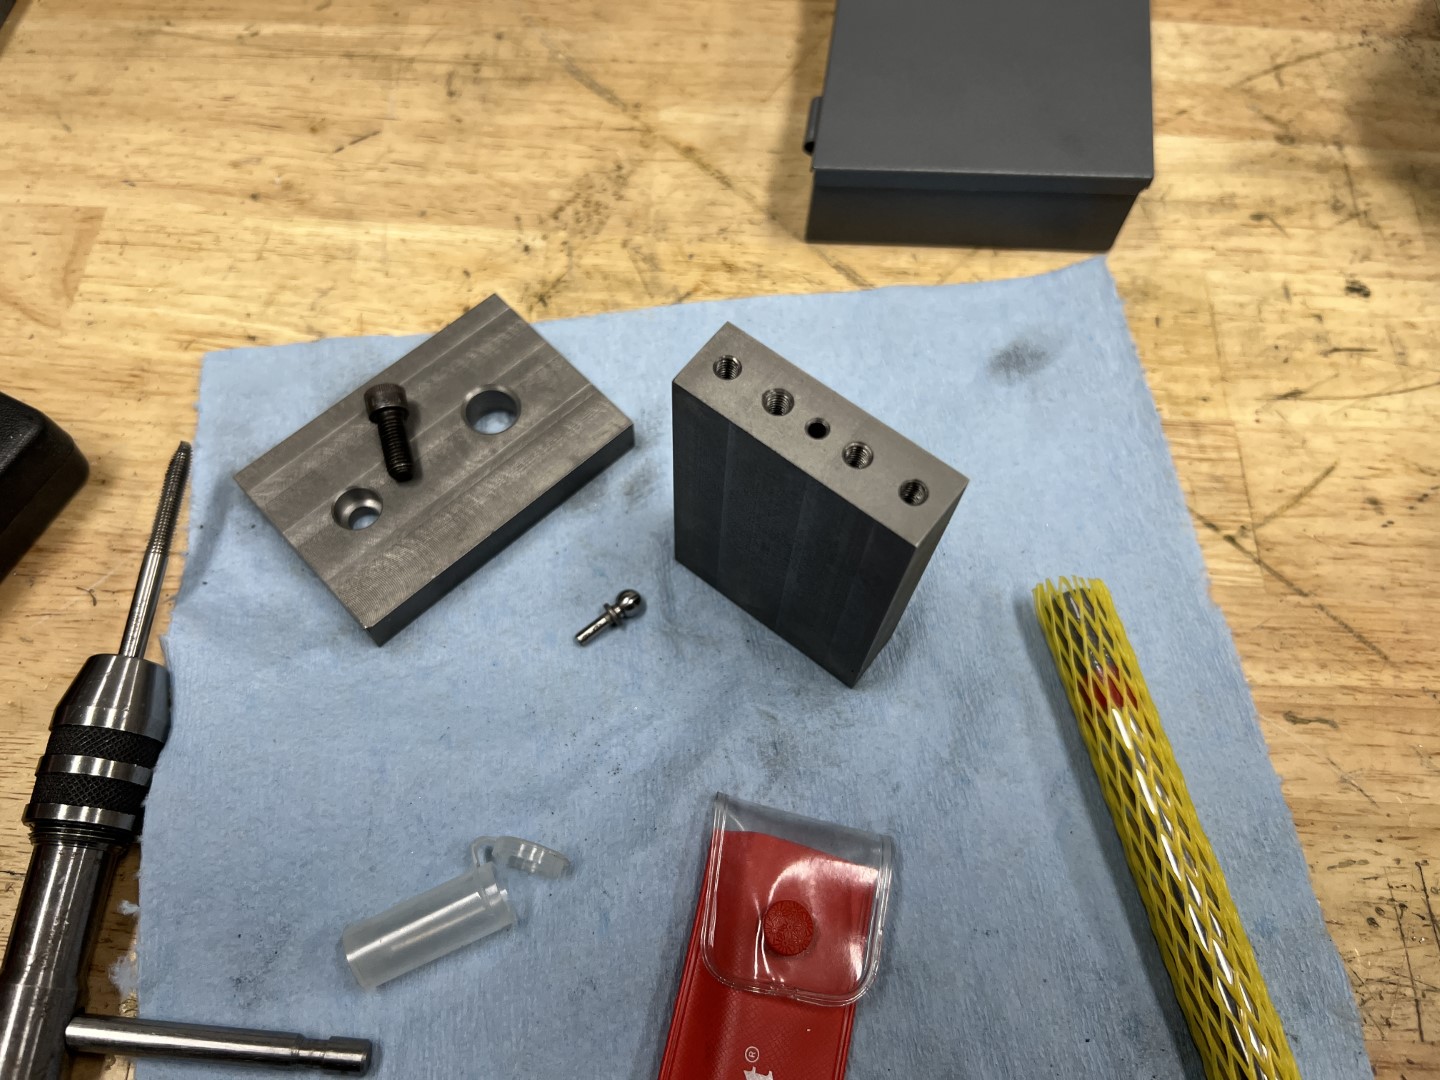
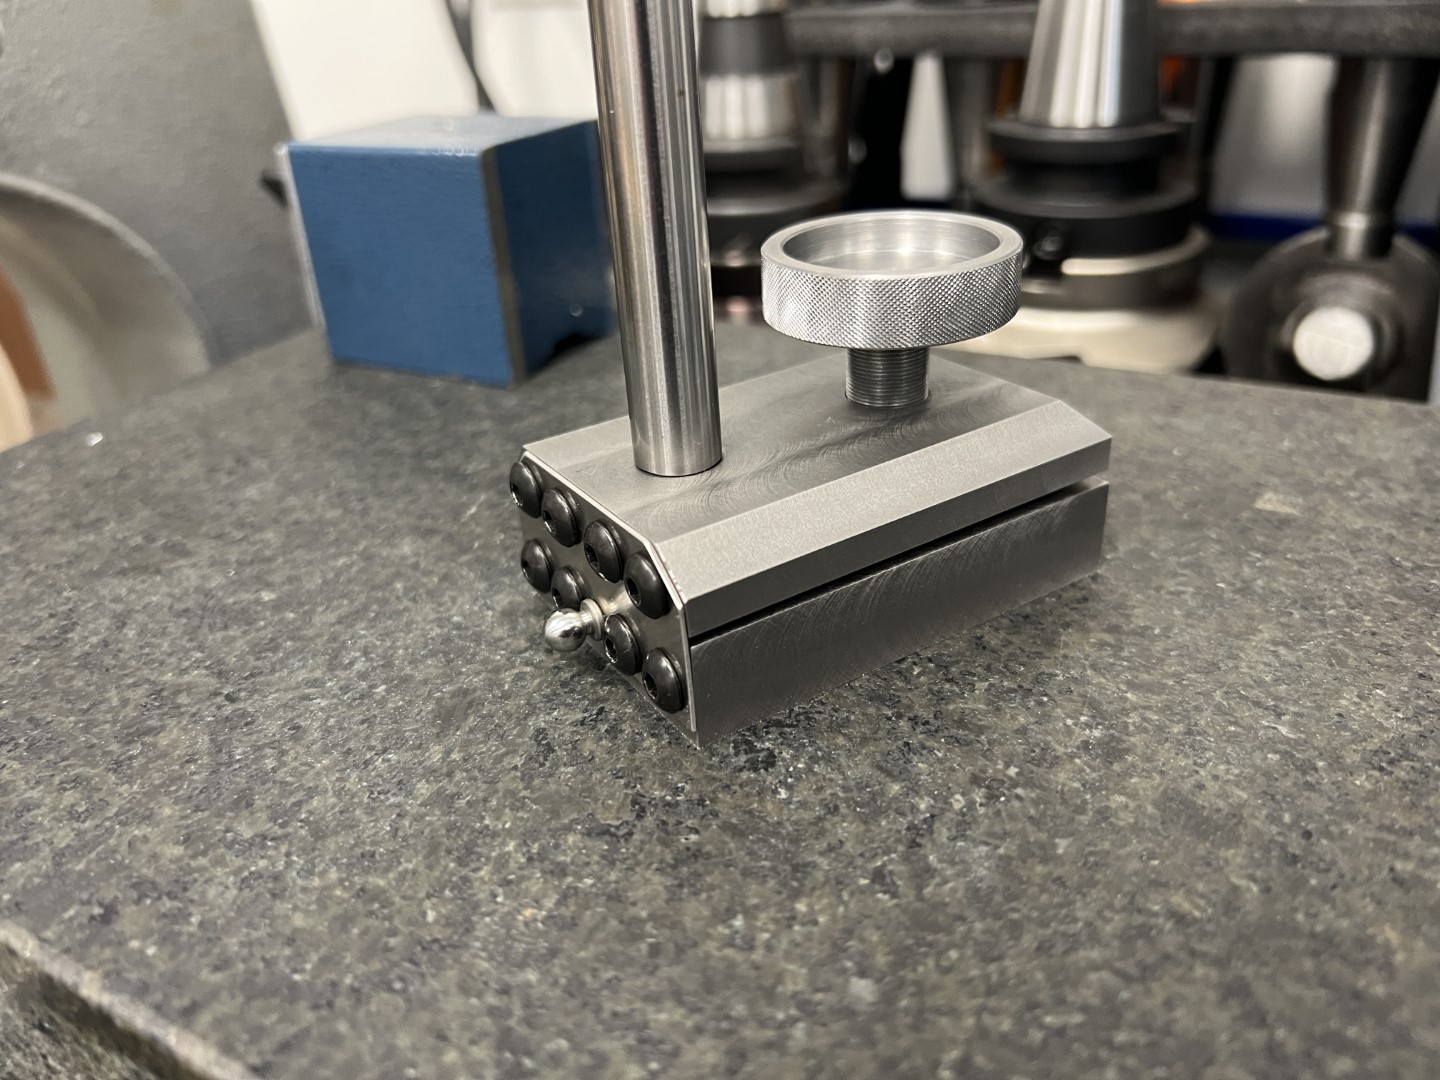
I also built in a mounting for a ‘tooling ball’ which will allow the gage to function as a squareness comparator in a pinch.
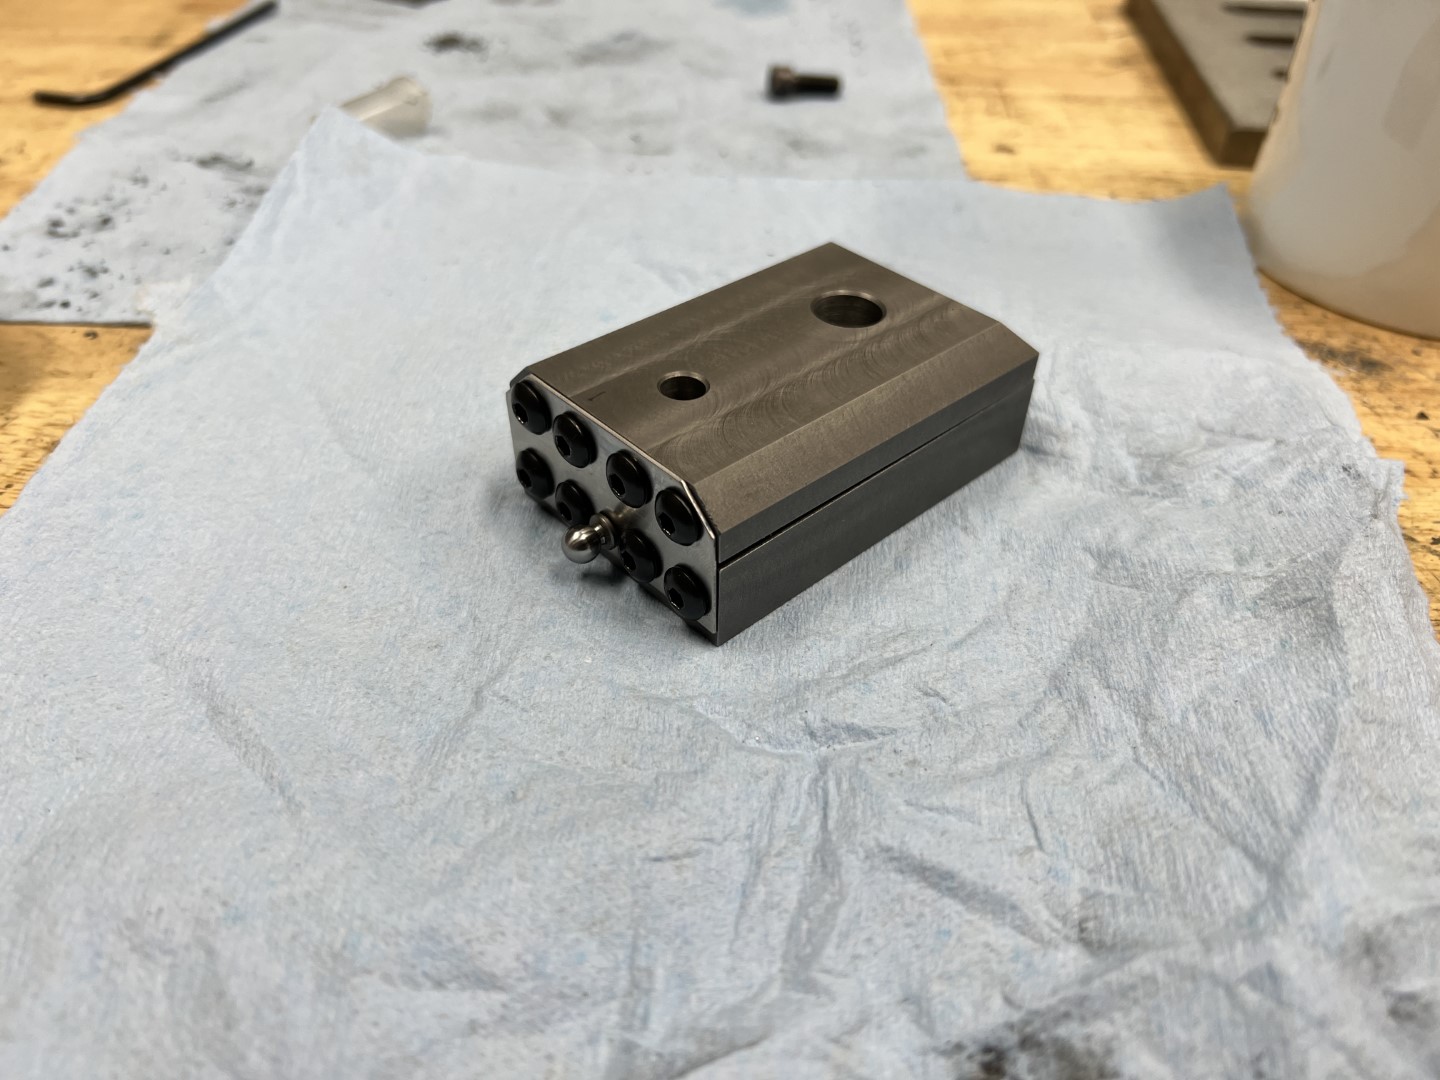
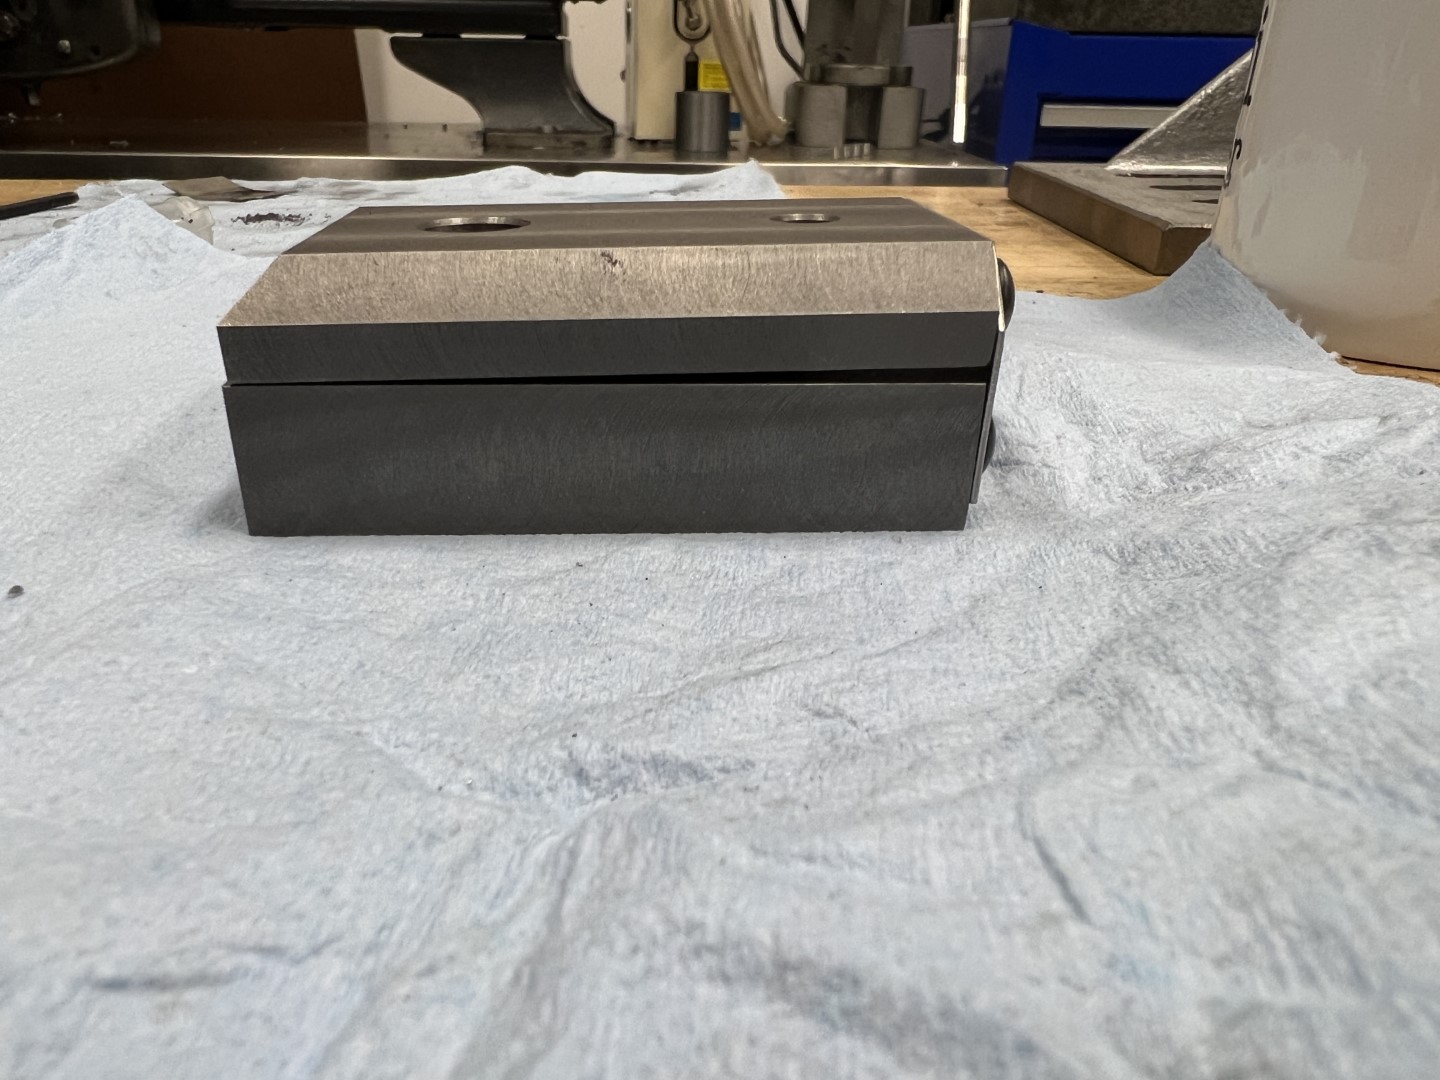
The most important feature of the base is that the top section preloads the spring that attaches both top and bottom sections of the base.
To do this, the top section receives a -3 degree chamfer on the mounting face of the spring. When in regular service, there will always be a force created by the spring, and therefore little to no backlash in the adjustment mechanism.
Fine Adjustment Knob and Screw
The fine adjustment knob is critical to the function of the gage.
I intend to use the device on a surface plate to take accurate measurements on machined components during the R&D project phase. Therefore, I felt it was best to use a very fine adjustment screw, with a large knob that provided a nice feel to the user.
For this purpose, I had originally planned a very fine 1/2”-32 thread, but found a very inexpensive 1/2”-40 tap online (only $10!). Since I could single point thread the adjustment knob, this is what chose to implement.
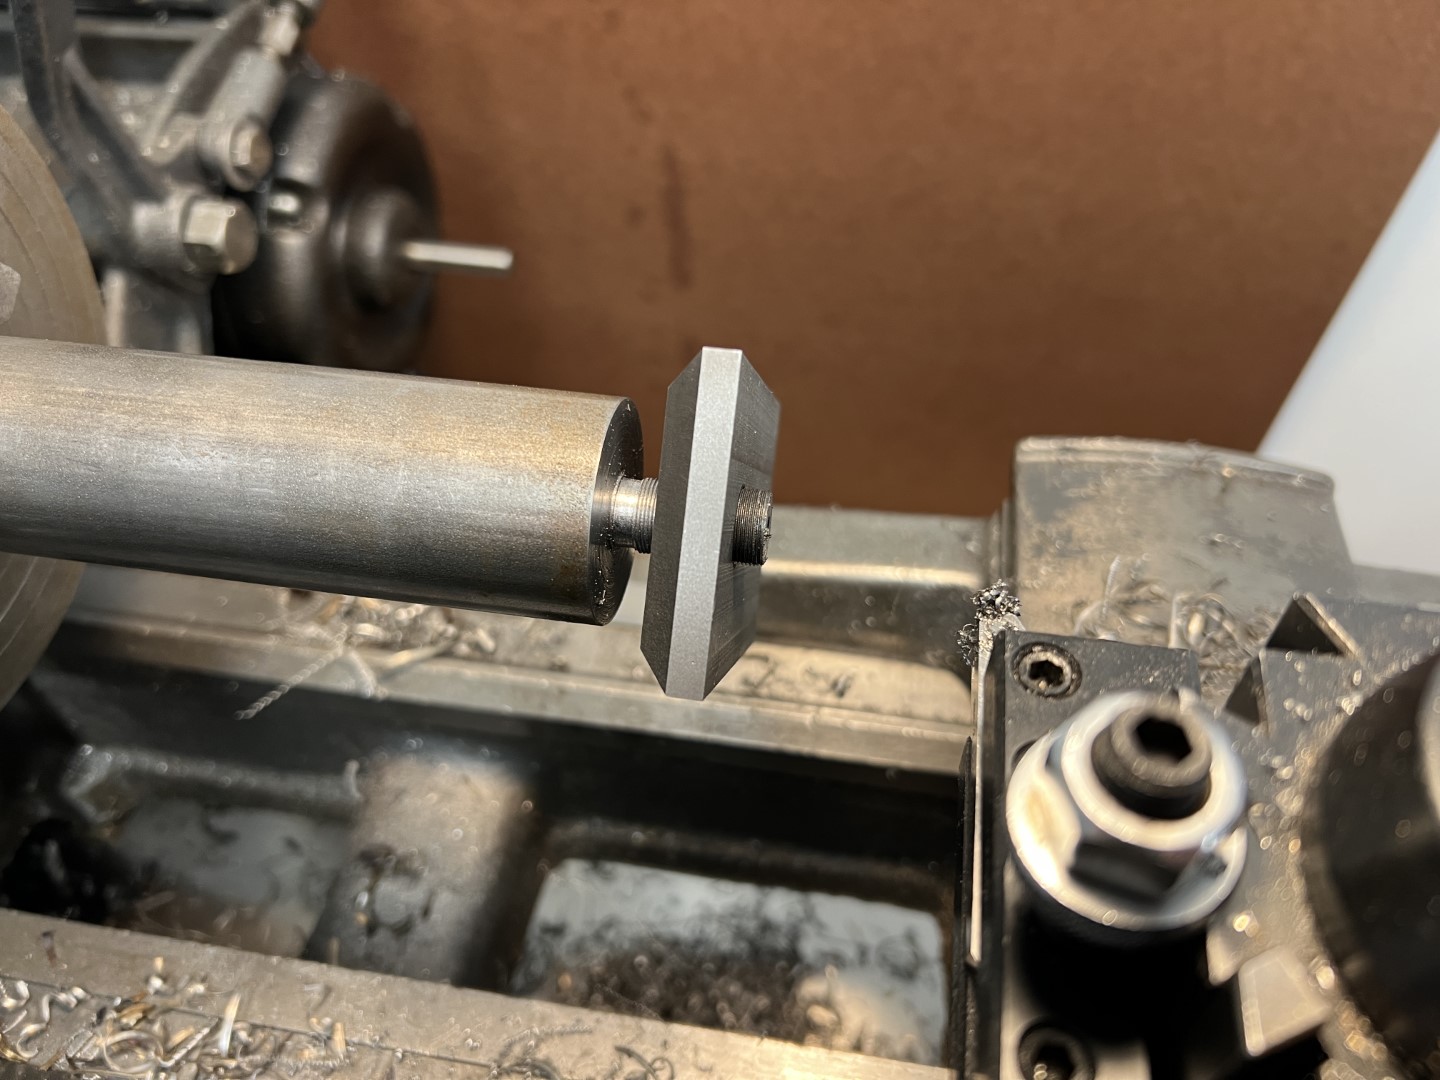
I used a cut knurl I built a last year in order to create the knurl.
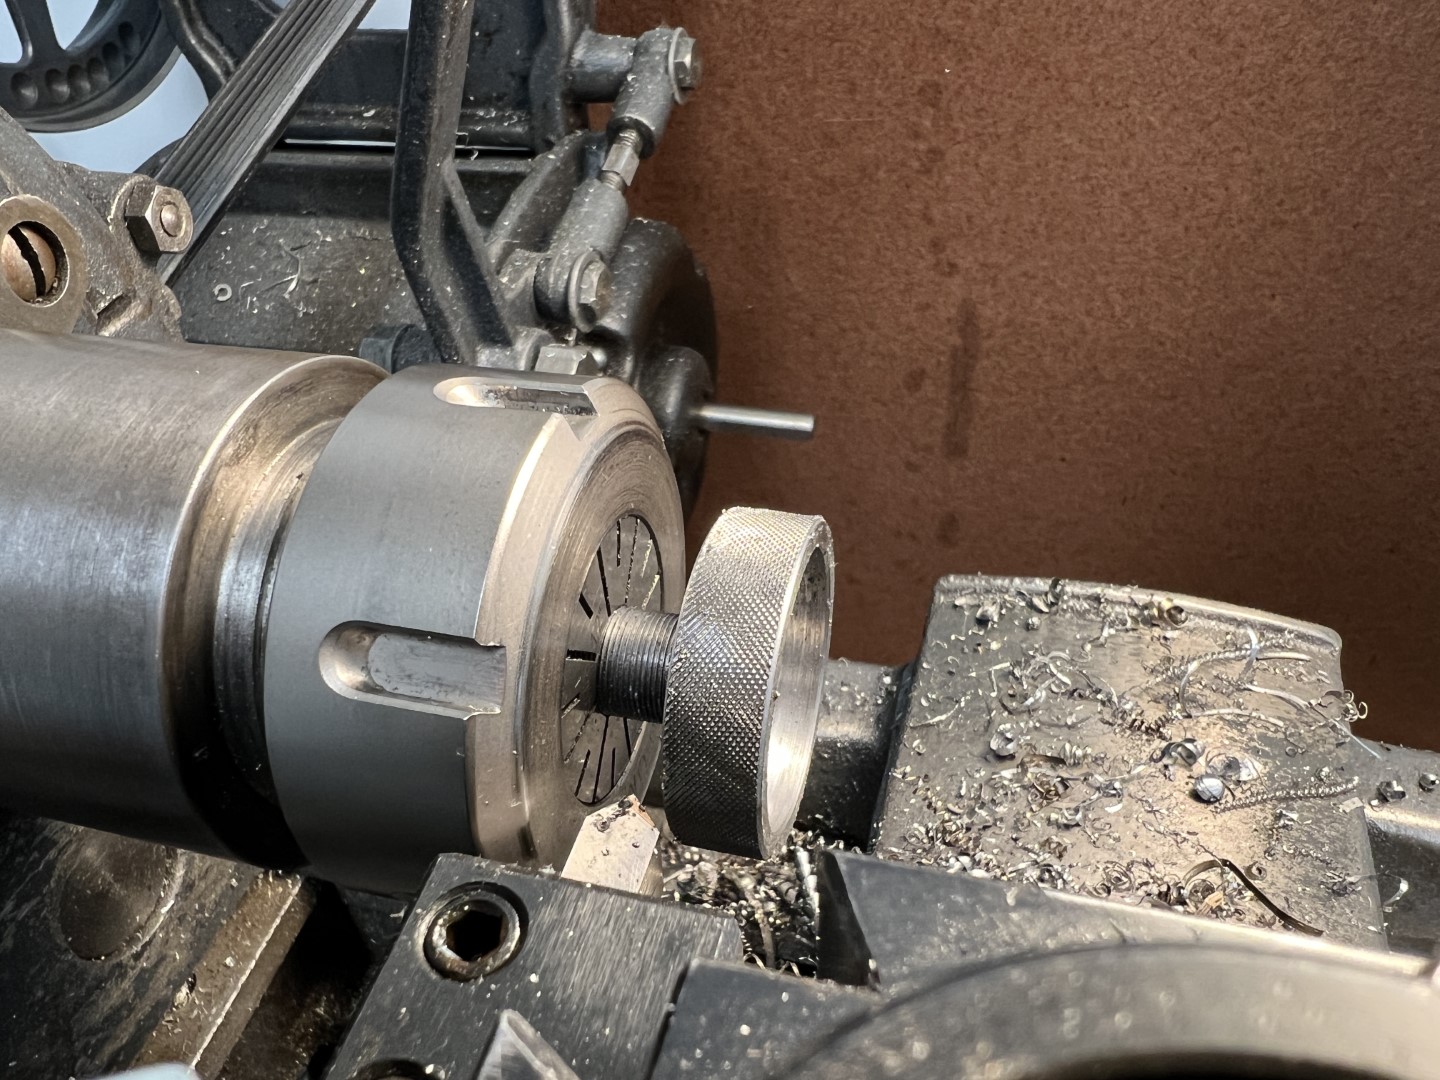
Plus the attachment mast, and it is pretty much completed! The fine-adjust screw is quite a bit too long in my opinion. I may cut it down later.
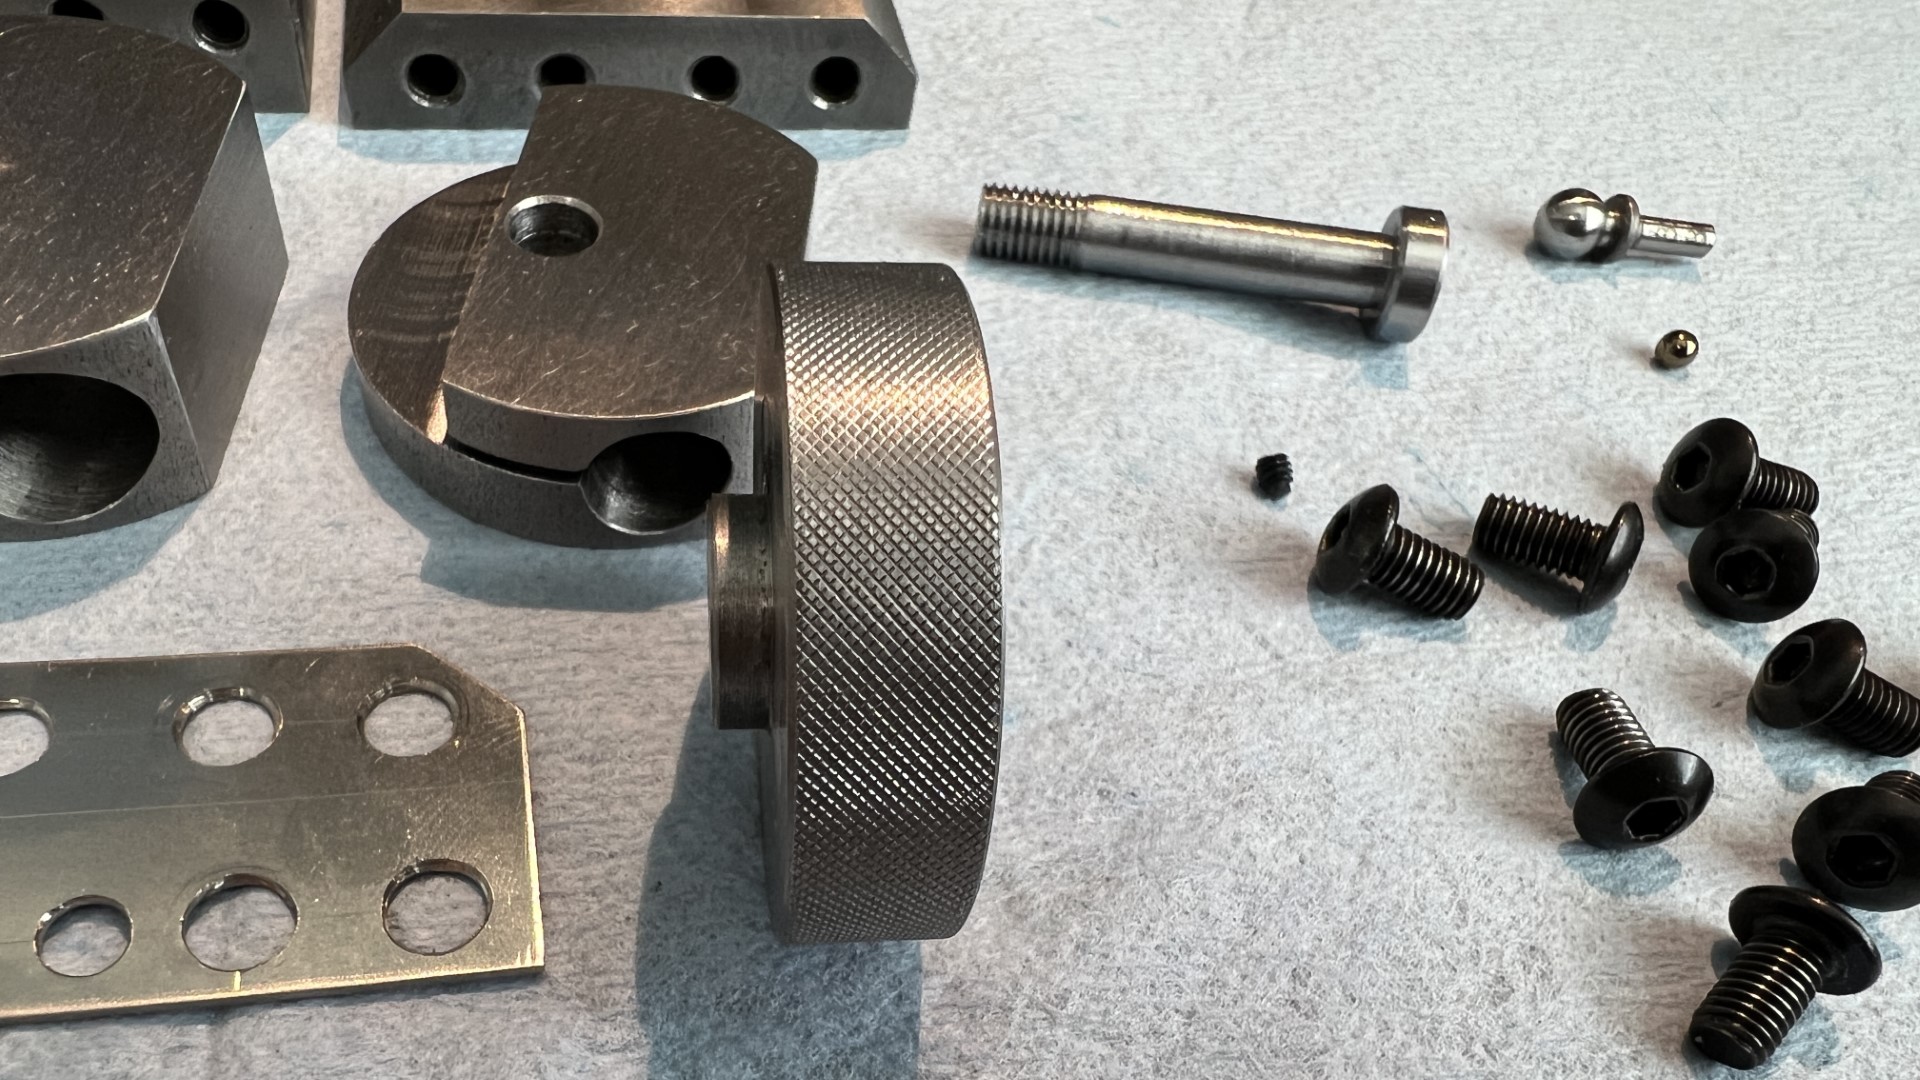
Attachment Mast Clamp
With the base complete, I moved on to making the parts that will clamp to the mast of the gage.
I followed the design shown by Robin Renzetti and Stefan Gotteswinter.
They both have detailed accounts of the build, so checkout Stefan’s video here.
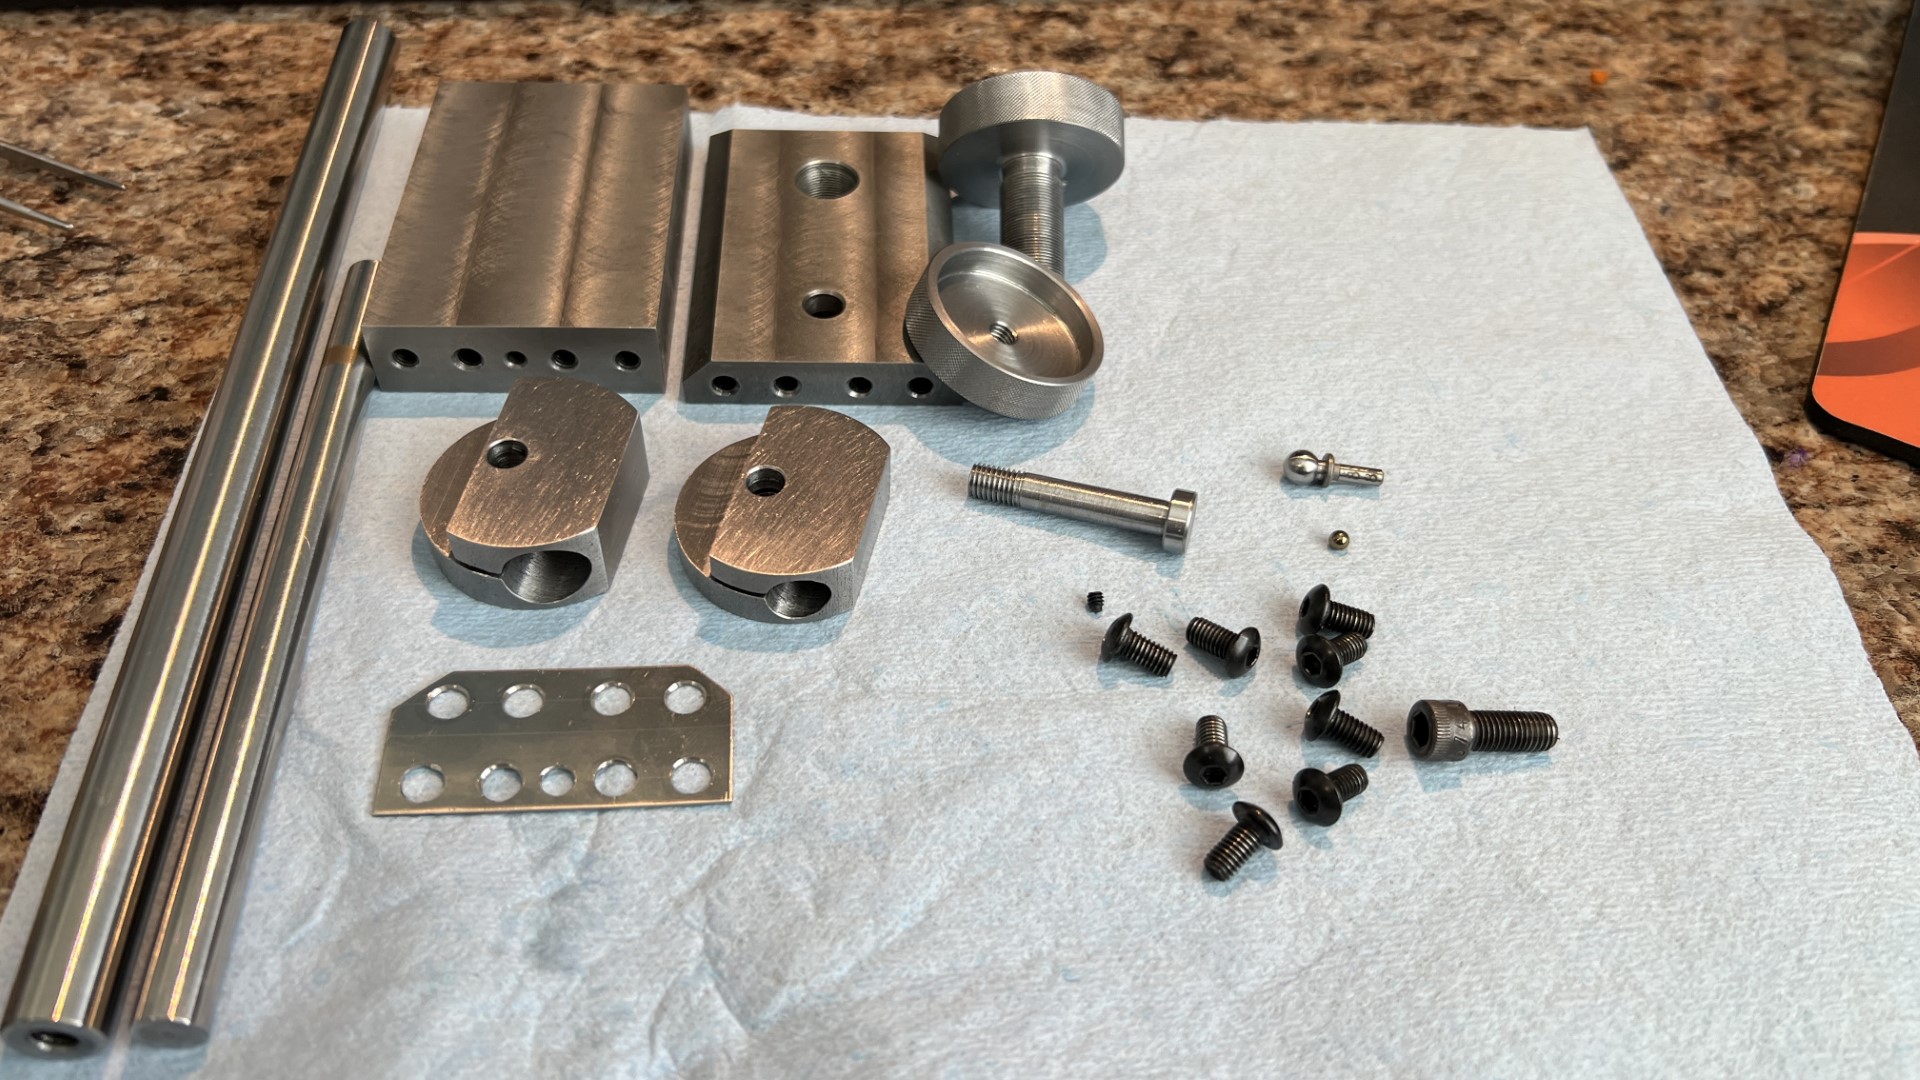 All the parts were fully cleaned and deburred.
The wheel also received a nice looking shallow knurl.
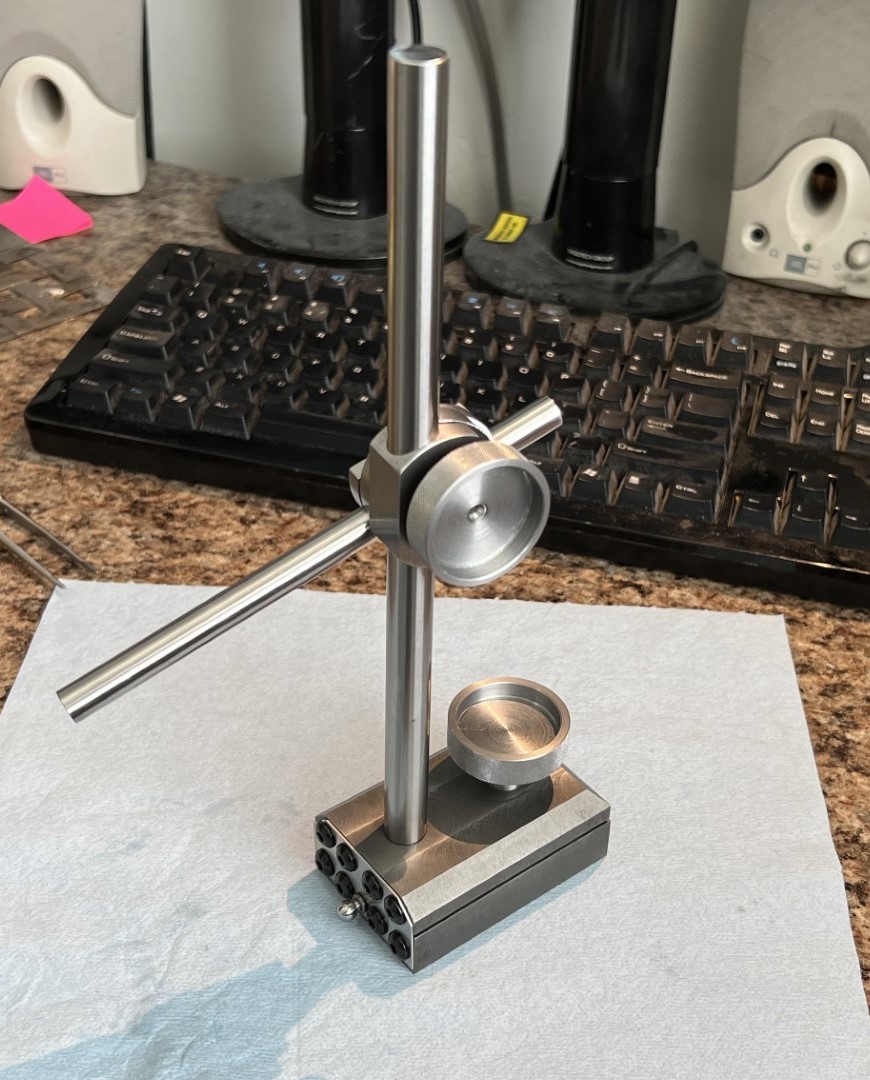
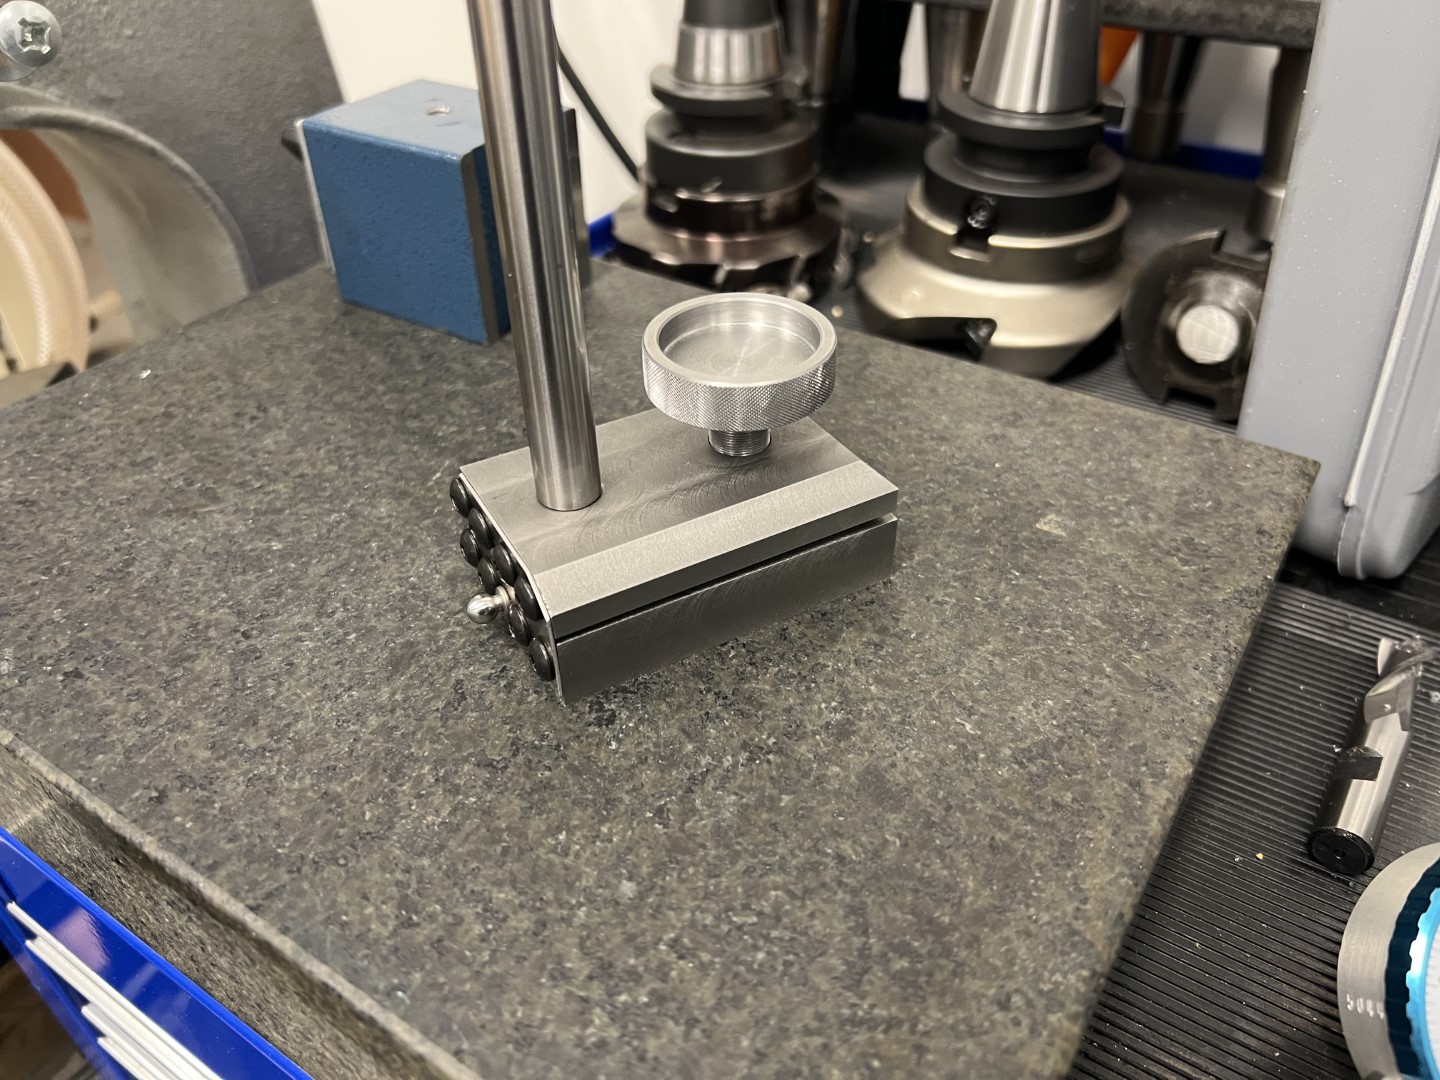
Complete
And with that the build is complete.